SUPPORT & TIPS
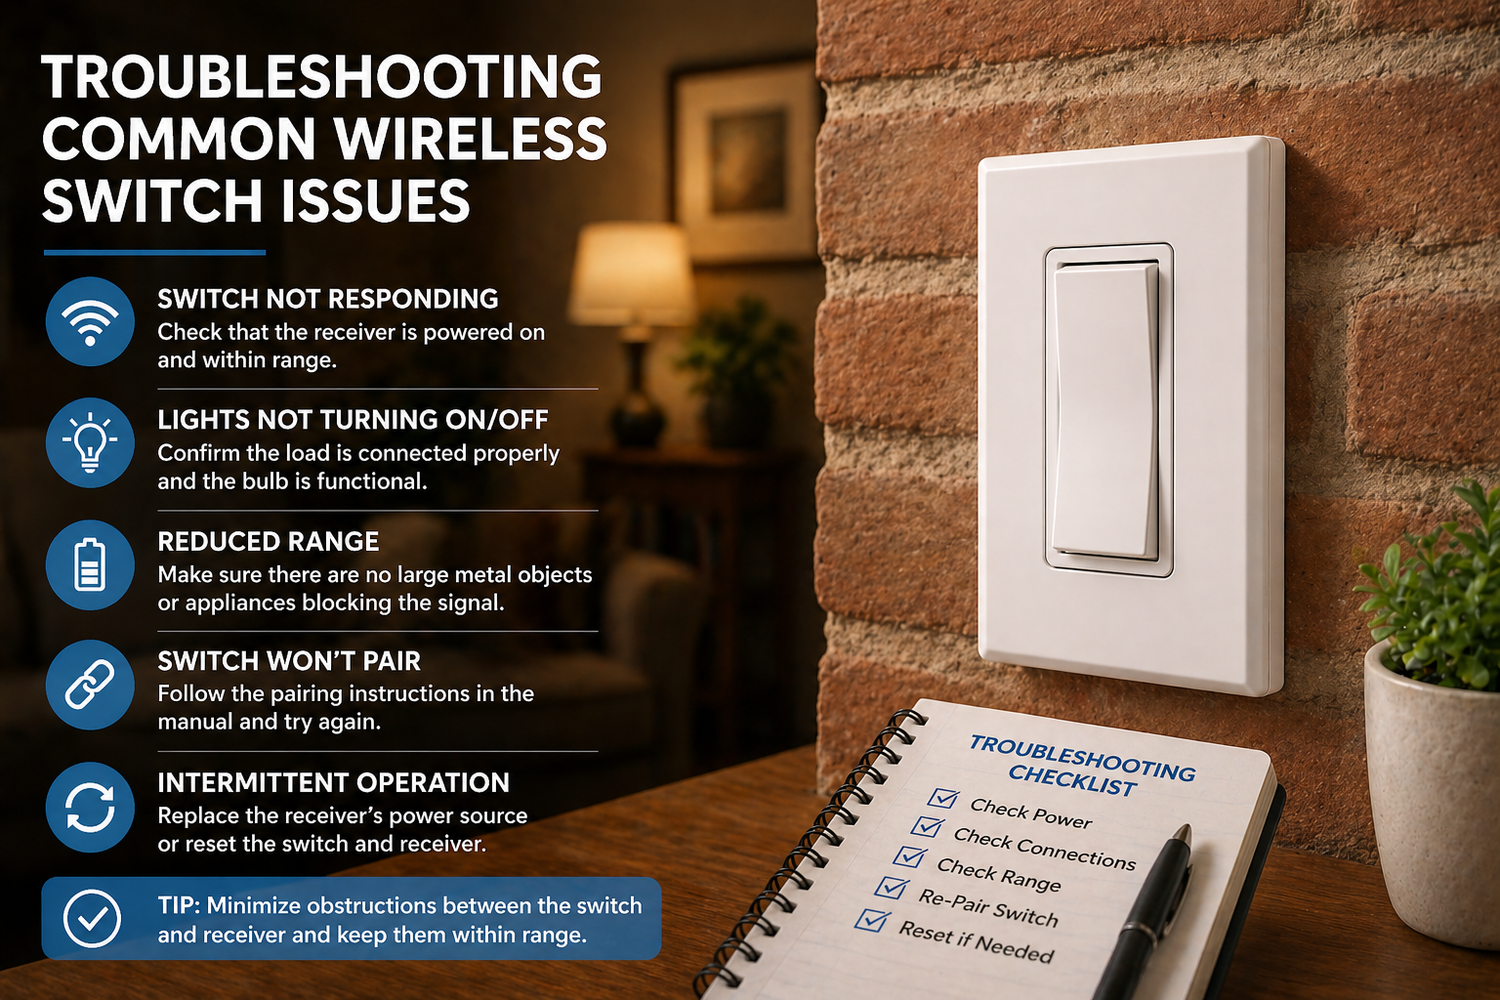
Troubleshooting Common Wireless Switch Issues
Quick fixes for the most common questions — so you can get back to enjoying your lights.
By RunLessWire | April 2026
RunLessWire’s kinetic wireless switches are designed to work right out of the box — pre-linked, battery-free, and ready to install in minutes. Most customers set up their kits without a hitch. But every now and then, a question comes up during installation or after a change in the home setup.
The good news? The most common issues have simple solutions. In this guide, we’ll walk through the top troubleshooting scenarios and show you exactly how to resolve them. No electrician required.
The Switch Isn’t Controlling the Light
This is the most common question we hear, and it almost always comes down to one thing: the switch and controller need to be linked. While our kits ship pre-linked from the factory, the connection can be reset if the controller loses power for an extended period or if a reset was triggered accidentally.
To re-link, confirm the controller has power (the Status LED should glow green for ON or red for OFF). Then hold the LINK button on the 5A controller (or MENU on the 20A) for about five seconds until you hear a clicking sound. Press the top rocker of the switch three times. If the Status LED pauses on green, the switch has been successfully added. Wait 30 seconds for the clicking to stop, and you’re good to go.
The Range Seems Shorter Than Expected
RunLessWire switches communicate via radio frequency with a range of 50–150 feet. In most homes, that’s more than enough. But certain materials — metal studs, foil-backed insulation, concrete walls, or large appliances — can reduce the effective range.
If your switch seems out of range, try repositioning it closer or in a direct line of sight with the controller. Avoid placing the switch directly behind a refrigerator, metal shelving unit, or HVAC duct. In most cases, moving the switch even a few feet resolves the issue.
The Light Flickers or Doesn’t Respond Consistently
Inconsistent behavior is usually related to the load, not the switch/receiver. Check the type of bulb you’re using. Some very low-wattage LED bulbs don’t draw enough current for the controller to detect reliably. Try swapping in a different LED bulb or using a slightly higher-wattage option.
If you’re using a dimming kit, remember: a short press (≤0.5 seconds) toggles on/off, while a long press (>0.5 seconds) dims up or down. Top rocker is on/dim up, bottom rocker is off/dim down. If the light seems to flicker during dimming, the bulb may not be fully compatible with the dimmer — try a different dimmable LED.
Two Kits Seem to Be Interfering with Each Other
This is actually one issue you shouldn’t encounter. Each RunLessWire unit has a unique digital ID and only communicates with devices that have been specifically linked to it. Two kits installed side by side will operate completely independently.
If a switch appears to control the wrong light, it’s likely been linked to the wrong controller. Simply unlink it by entering linking mode on the correct controller and pressing the switch’s top rocker three times to add it. If needed, repeat the process on the other controller — pressing three more times during linking mode will remove the switch from that unit.
The Controller’s Status LED Isn’t Lighting Up
If the Status LED on the controller isn’t showing any color, the controller likely isn’t receiving power. Double-check your wiring connections — make sure the line (hot) and neutral wires are securely connected, and that the circuit breaker hasn’t tripped. Our controllers require a neutral wire for code-compliant installation, so confirm one is present in the junction box.
If wiring looks correct and the LED still doesn’t respond, contact our support team at support@runlesswire.com or call 866-600-2111. We’re available Monday through Friday, 9am–5pm MT, and we’re happy to walk you through it.
When in Doubt, We’re Here to Help
RunLessWire products are engineered and assembled in the USA and backed by a 5-year warranty. If something isn’t working the way it should, don’t hesitate to reach out. Most issues are resolved in a single conversation, and our team treats every call like we’re helping family.
For step-by-step installation guides, visit our Install & Troubleshooting page. And for more tips and project ideas, check out the RunLessWire Blog.
No wires. No batteries. No limits.
Need a hand? We’ve got you covered.
Explore our full product line at runlesswire.com
or find us on Amazon and Home Depot.
Leave a comment
All comments are moderated before being published.
This site is protected by hCaptcha and the hCaptcha Privacy Policy and Terms of Service apply.