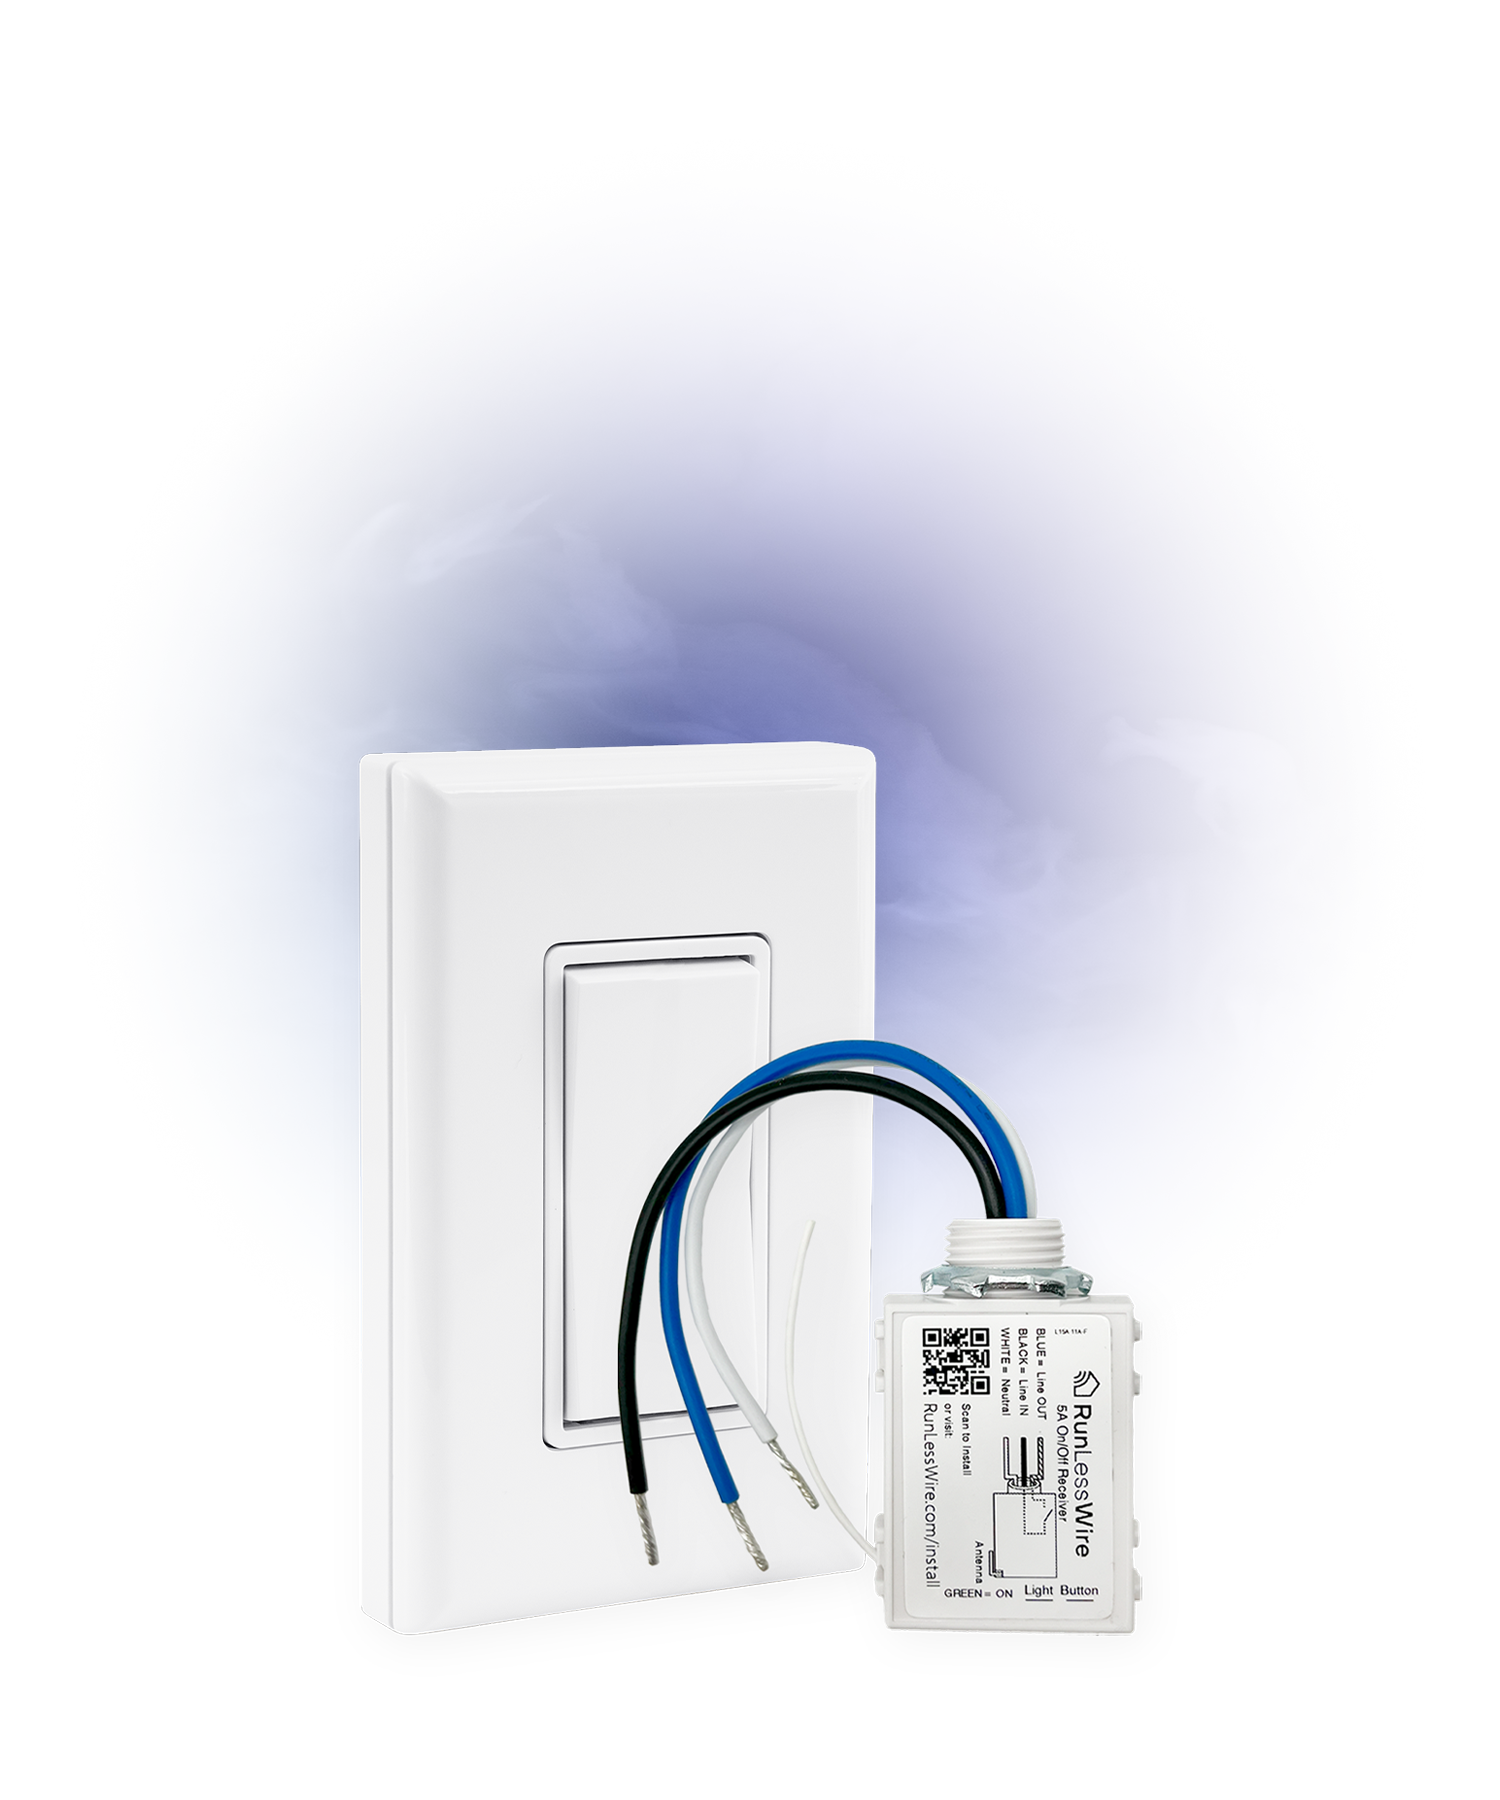
Control your lights from ANYWHERE - No Wires, Batteries, or WiFi Needed
RunLessWire Advantages

TWO OPTIONS
WHAT TYPE OF LIGHTING ARE YOU LOOKING TO CONTROL?
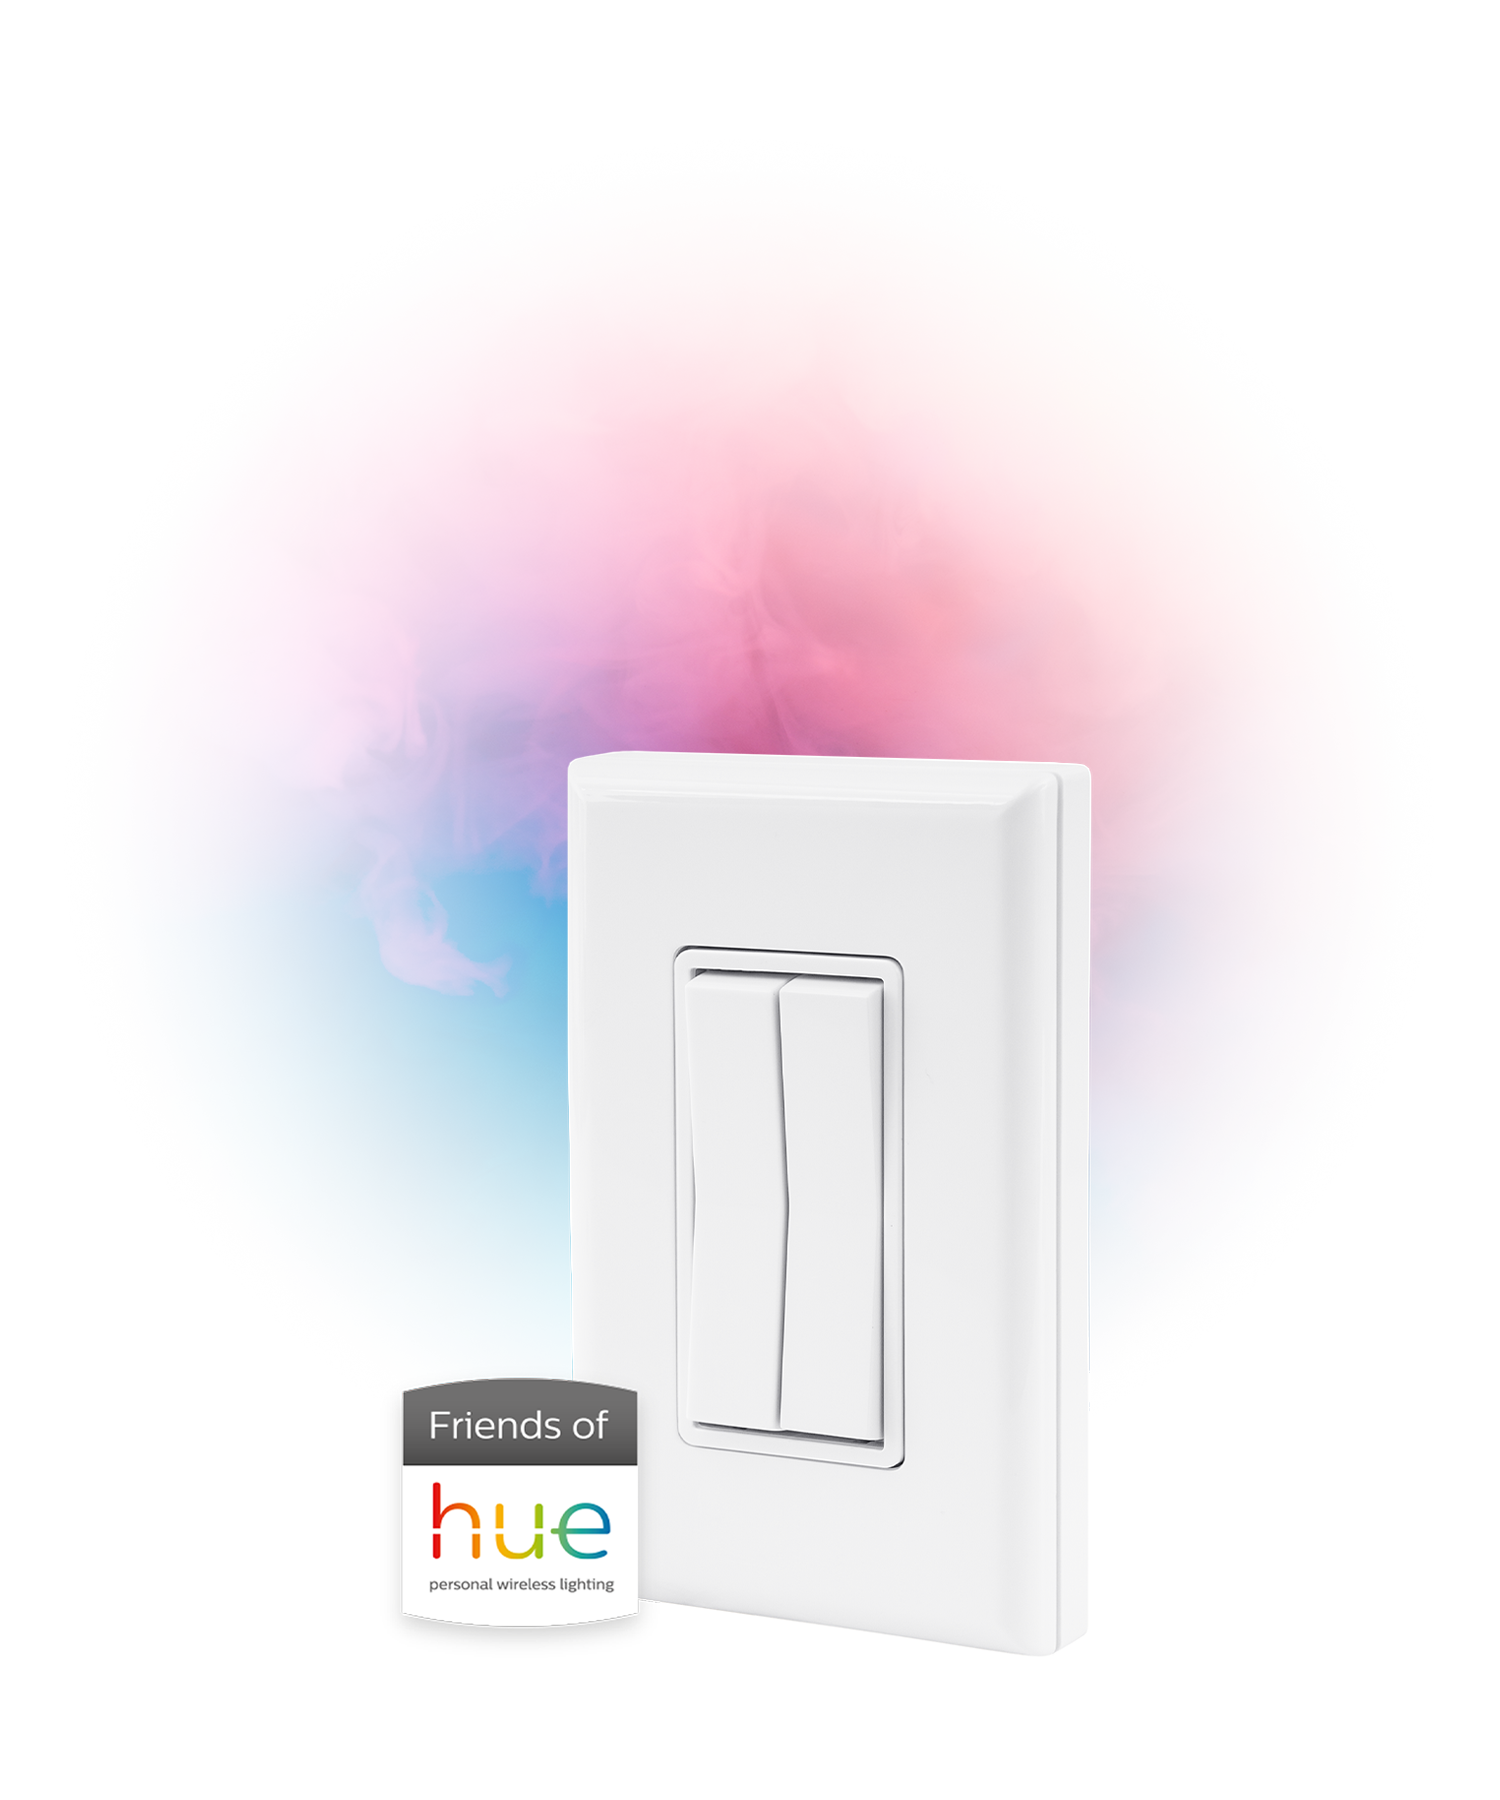


Partnered Brands


AS SEEN ON ASK THIS OLD HOUSE
What People Are Saying About Us:
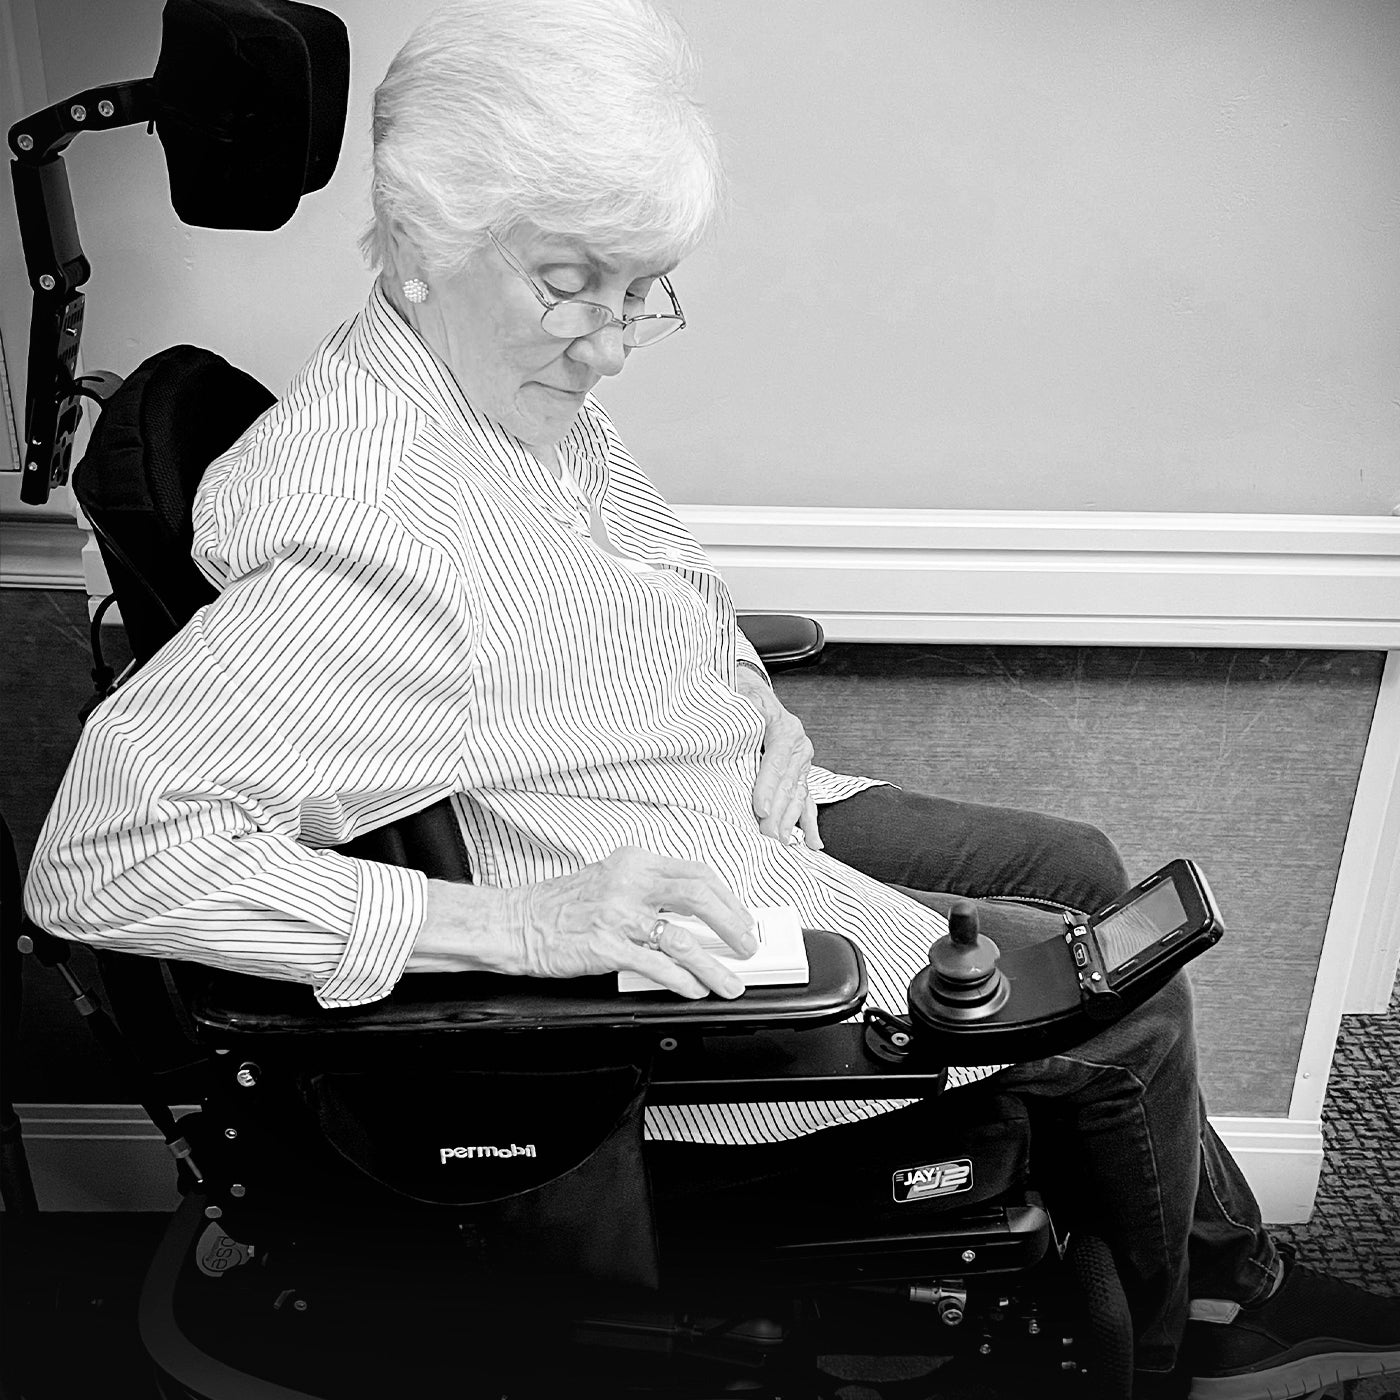
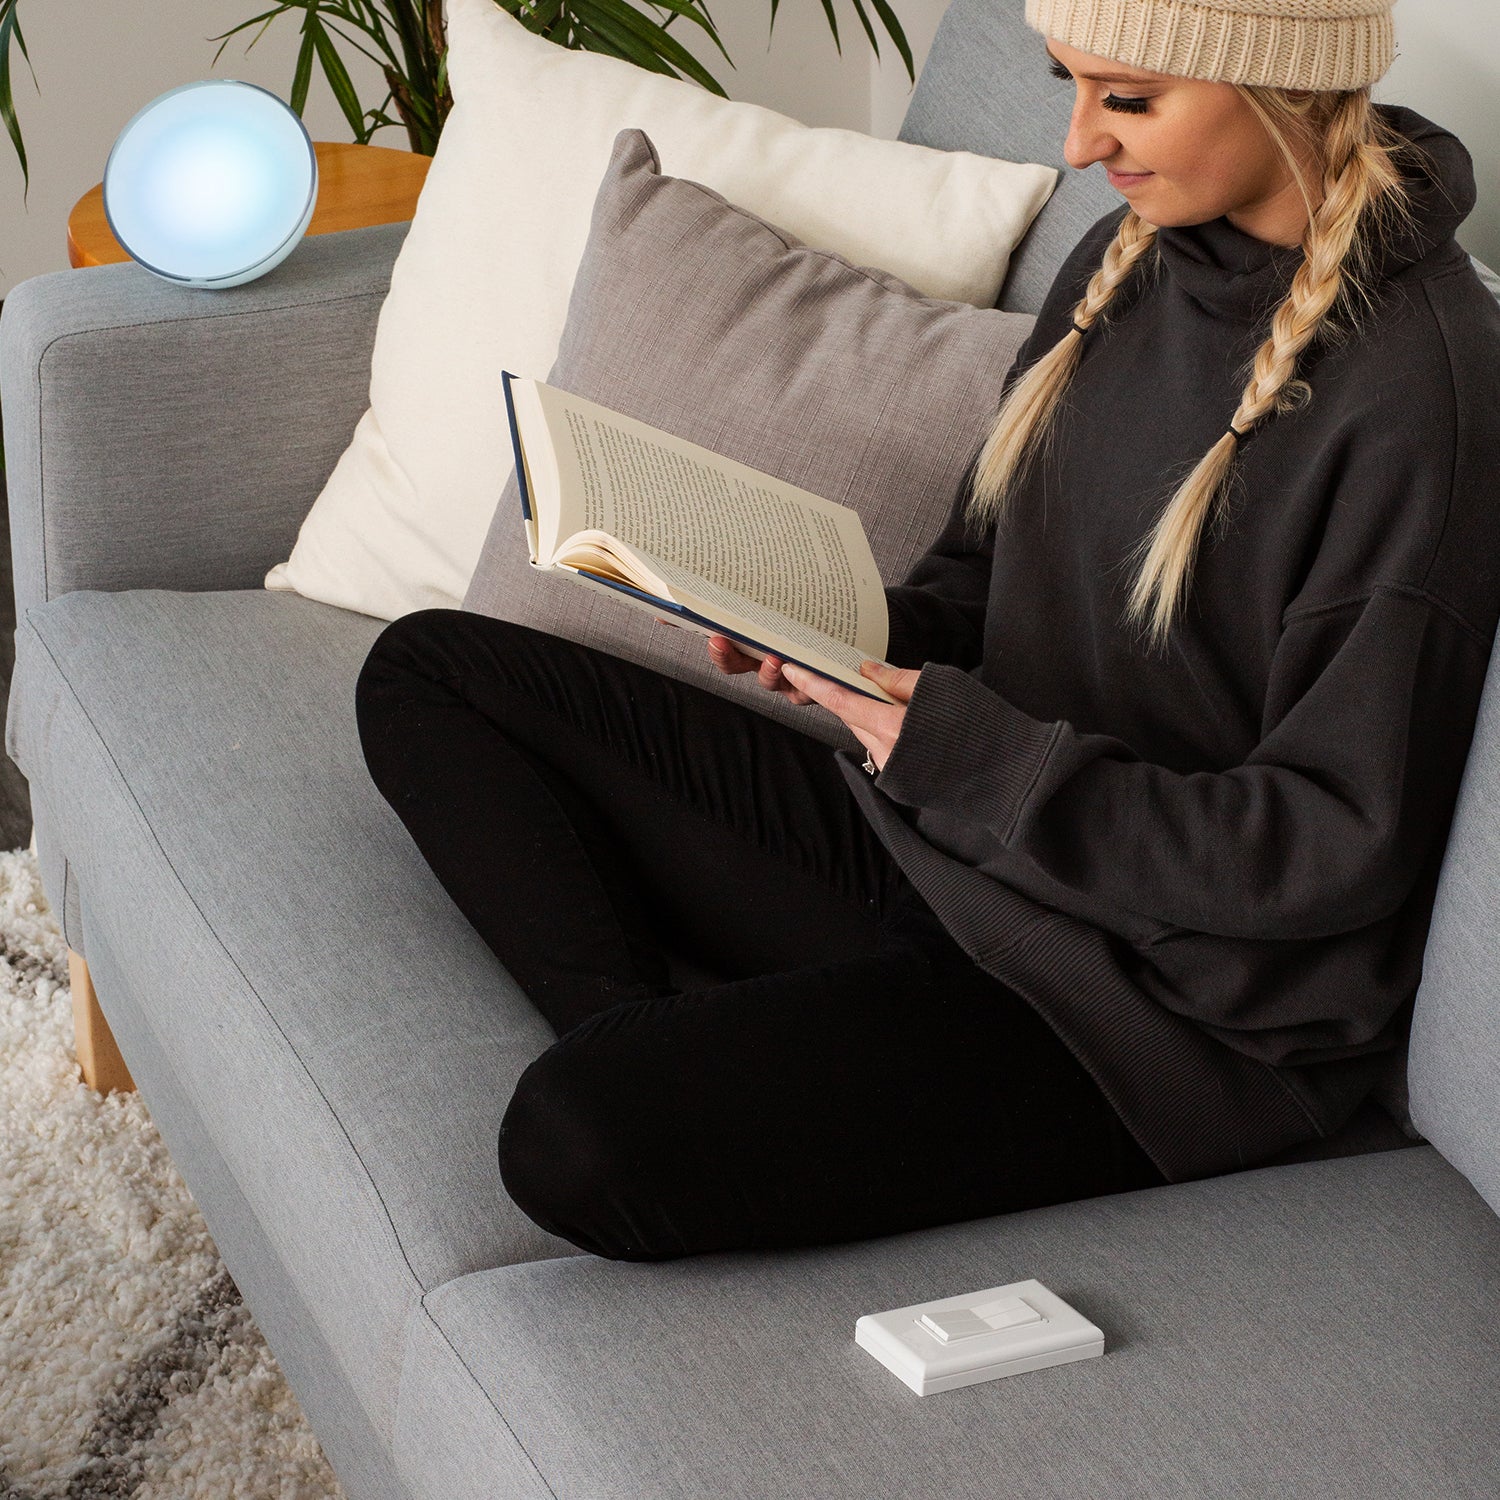
Everyday Lighting Solutions for Everyone