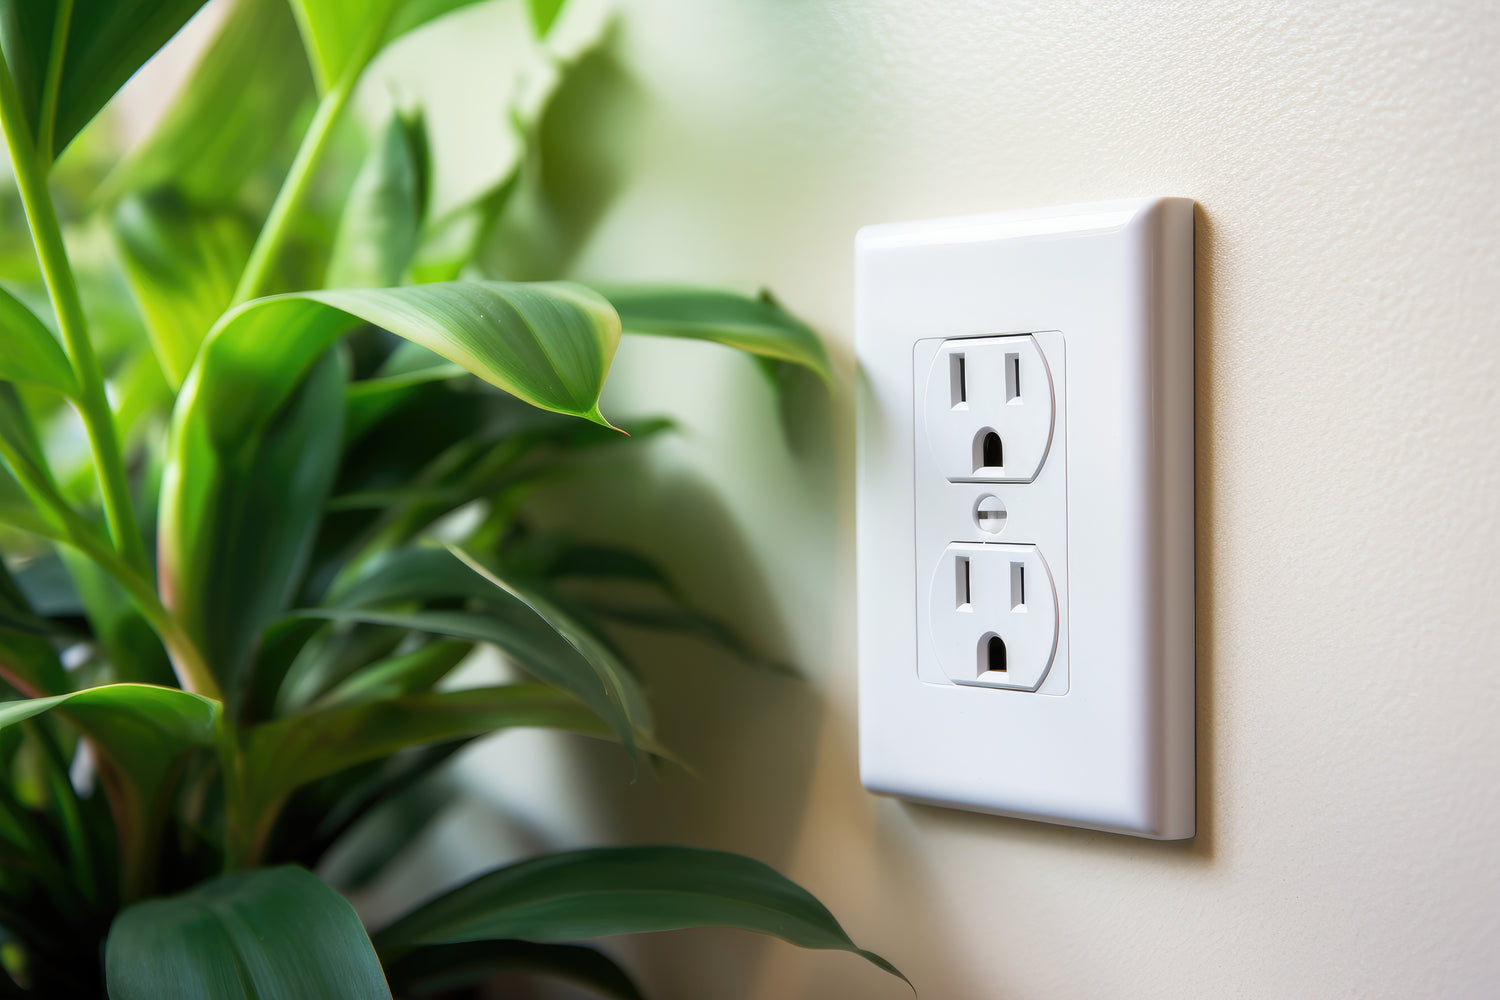
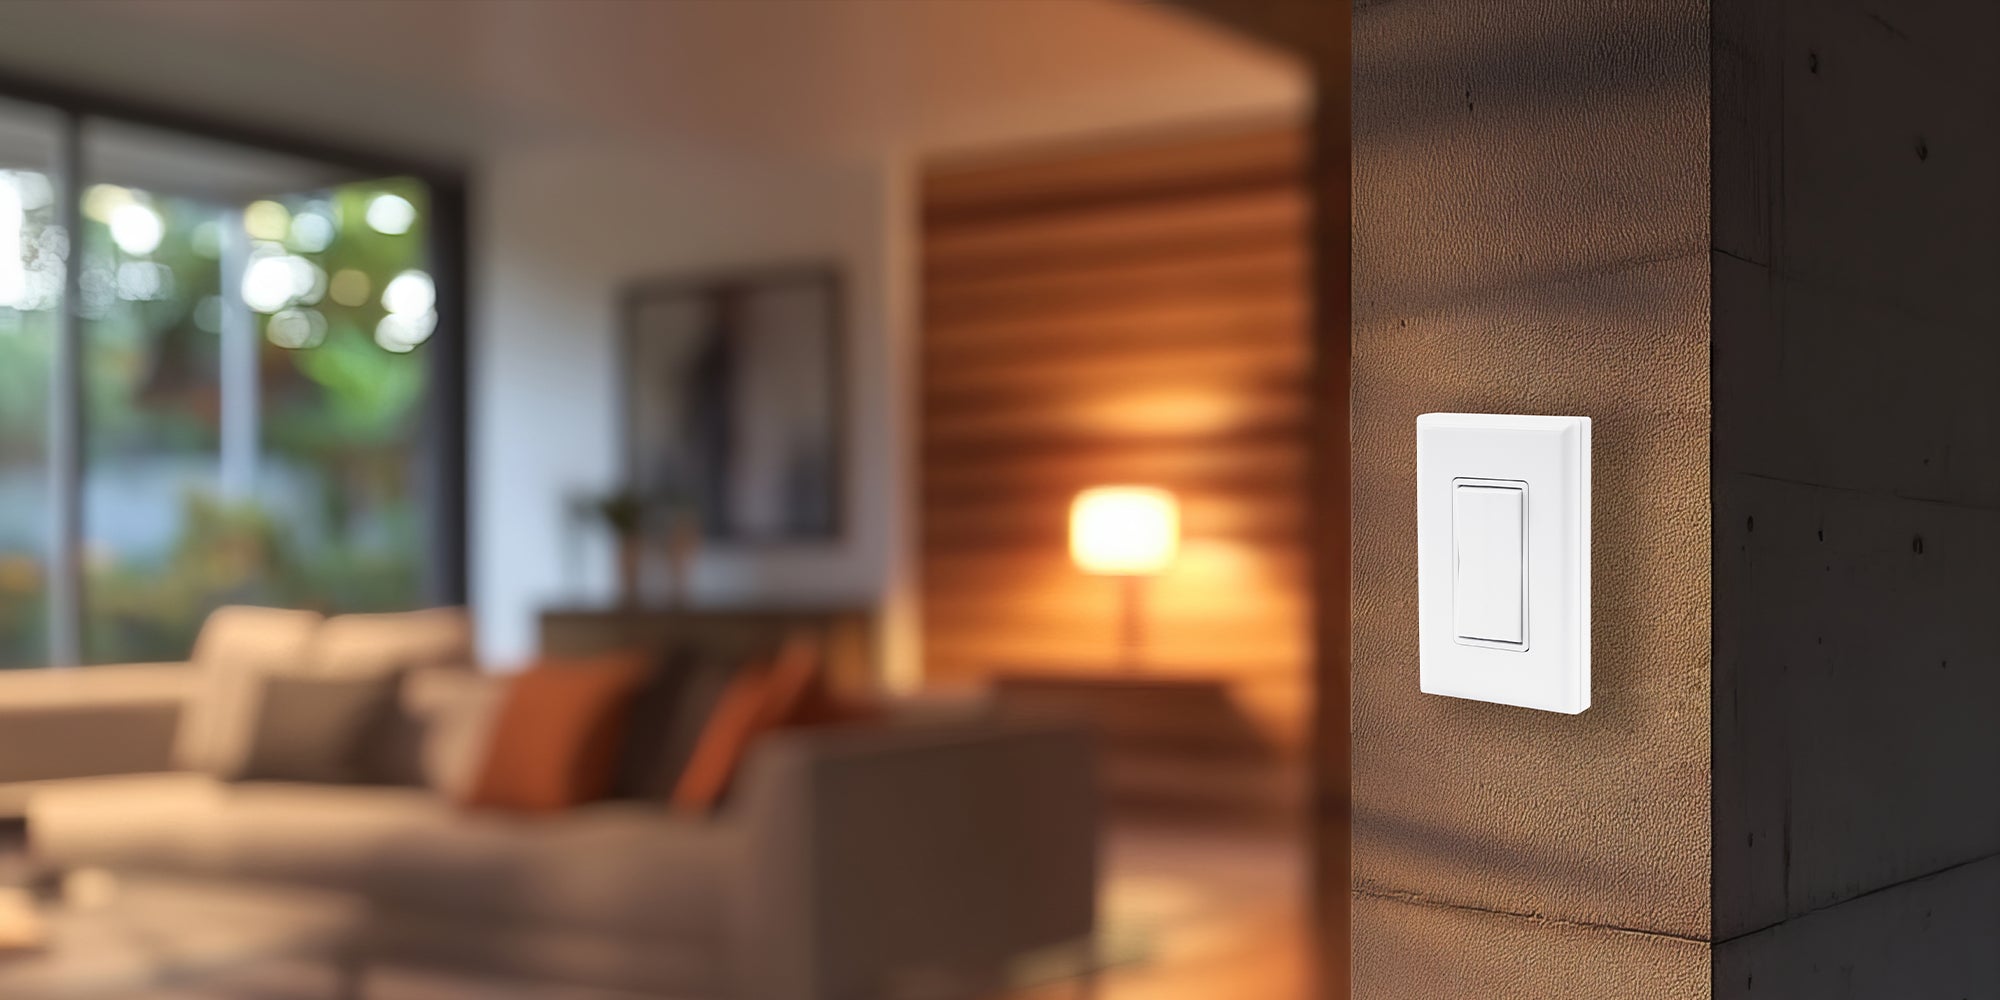
Upgrading your home with wireless technology doesn’t have to be complicated or expensive. One of the easiest and most practical DIY projects is adding a wireless switch to control an outlet. With RunLessWire's wireless switches, you can control appliances, lamps, and other devices connected to an outlet—all without rewiring your home. This guide will show you step-by-step how to install a wireless switch to control any outlet in your home.
Why Control an Outlet with a Wireless Switch?
Adding a wireless switch to control an outlet brings flexibility and convenience to your home. Here are some key benefits:
- Easy to Install: No need to tear open walls or hire an electrician. Wireless switches from RunLessWire can be installed with minimal effort.
- Enhanced Convenience: Place your switch wherever you want—on a wall, by your bedside, or in a location that’s easily accessible.
- Energy Savings: Control appliances and lamps remotely, making it easier to turn them off when not in use, thereby reducing energy consumption.
- Kinetic Energy-Powered: RunLessWire switches use kinetic energy, so you won’t need to worry about batteries running out.
Now, let’s dive into the step-by-step guide on how to install a wireless switch to control an outlet.
Step 1: Gather Your Materials
Before you begin, ensure you have the necessary materials for the installation:
- RunLessWire Wireless Switch Kit (includes the wireless switch, receiver, screws, and mounting tape)
- Screwdriver
- Lamp, fan, or other appliances to plug into the outlet
Step 2: Install the Receiver
The receiver is the key to enabling your outlet to be controlled wirelessly. Here’s how to install it:
-
Turn Off Power: Always start by turning off the power to the outlet you plan to control to ensure safety.
-
Remove the Outlet Cover: Using a screwdriver, carefully remove the cover plate from the outlet where you’ll be installing the receiver to access the wires.

-
Wire the Receiver: Follow the instructions in the RunLessWire kit to wire the receiver to the outlet. The receiver will communicate with the wireless switch to control the power to the outlet. Ensure all connections are secure before continuing.

-
Reassemble the Outlet: Once the receiver is installed and wired, replace the outlet cover and secure it with screws.
Step 3: Pair the Wireless Switch with the Receiver
If you purchased the kit, your switch will already be paired and ready to use. you can turn the breaker back on, test, and enjoy!
If it's not already paired, no worries! This step is quick and easy:
1. Press button on receiver for 3 seconds until the receiver begins to toggle on/off.
2. Press the TOP of the switch 3 times quickly to link the switch to the receiver, or the BOTTOM of the switch 3 times to unlink.
3. The LED and output will pause ON for 3 seconds if linked, or OFF for 3 seconds if unlinked.
4. Wait for the linking mode to time out (30 seconds), or power cycle the receiver.
5. Test switch to ensure it's linked properly.
Step 4: Mount the Wireless Switch
One of the best features of RunLessWire’s wireless switches is their flexibility. You can mount the switch anywhere, giving you the freedom to control your outlet from the most convenient location. Here’s how:
-
Choose the Location: Decide where you want to place your switch. Popular options include near doorways, by the bedside, or even on a kitchen wall. Since the switch is wireless, you’re not restricted by existing wiring.
-
Mount with Adhesive or Screws: You can either use adhesive for easy installation or mount the switch with screws. Both methods are secure and durable.
-
Test the Placement: Once mounted, test the switch to ensure it’s easy to access and use from your chosen location. You can even reposition the switch if needed.
Step 5: Enjoy Your Wireless-Controlled Outlet
With the installation complete, you now have a fully functional wireless-controlled outlet. You can use the switch to control lamps, small appliances, fans, and more. Here are some creative ways to take advantage of your new setup:
- Control Lamps from Bedside: No more getting up to turn off the light—control your lamp with a switch mounted right next to your bed.
- Automate Kitchen Appliances: Easily turn on and off kitchen gadgets like coffee makers or toasters with the flip of a switch.
- Add Convenience to Home Offices: Control printers, computers, or desk lamps wirelessly for better energy management.
Troubleshooting Common Issues
While RunLessWire’s wireless switches are designed for easy installation, you may encounter minor issues along the way. Here are some quick troubleshooting tips:
- Switch Not Pairing: Ensure the receiver is powered and the pairing button is pressed properly. Try resetting the switch and receiver and pair them again.
- Switch Range Issues: The wireless range for RunLessWire switches is generally robust, but interference from thick walls or metal surfaces may reduce signal strength. Try repositioning the switch or receiver if the range is less than expected.
- Receiver Not Controlling Outlet: Double-check the wiring to ensure the receiver is connected properly. Turn off the power and inspect the wires for any loose connections.
Final Thoughts
Adding a wireless switch to control an outlet is one of the simplest yet most impactful home automation projects you can tackle. With RunLessWire’s wireless technology, you can effortlessly control lamps, appliances, and more without the hassle of wiring. Plus, with no batteries required and endless installation possibilities, it’s the perfect DIY project for beginners.
Now that you know how to install a wireless switch to control an outlet, you can easily upgrade any room in your home with the convenience of wireless control.


2 comments
Jenny Hunter
Hi Ralph! We actually just came out with an easier way to control outlets with our Wall Plug Kit: https://runlesswire.com/products/wall-plug-bluetooth-wireless-switch-kit
If you’re wanting to have multiple switches/wall plugs, you can purchase them as ‘add-ons’ here: https://runlesswire.com/collections/addons
If you’re wanting to wire our receiver into the outlets, you can use our on/off kits for different configurations – if you want several switches to control one receiver or vise versa. You can link any number of receivers to any 1 switch, and up to 25 switches to any 1 receiver, so you can also create your own kit under ‘add-ons’. Please reach out to us at support@runlesswire.com
Ralph F Aide
What do I require to set up 2 outlets to switches on either side of room for elderly clients?
Leave a comment
All comments are moderated before being published.
This site is protected by hCaptcha and the hCaptcha Privacy Policy and Terms of Service apply.