INSTALL GUIDE
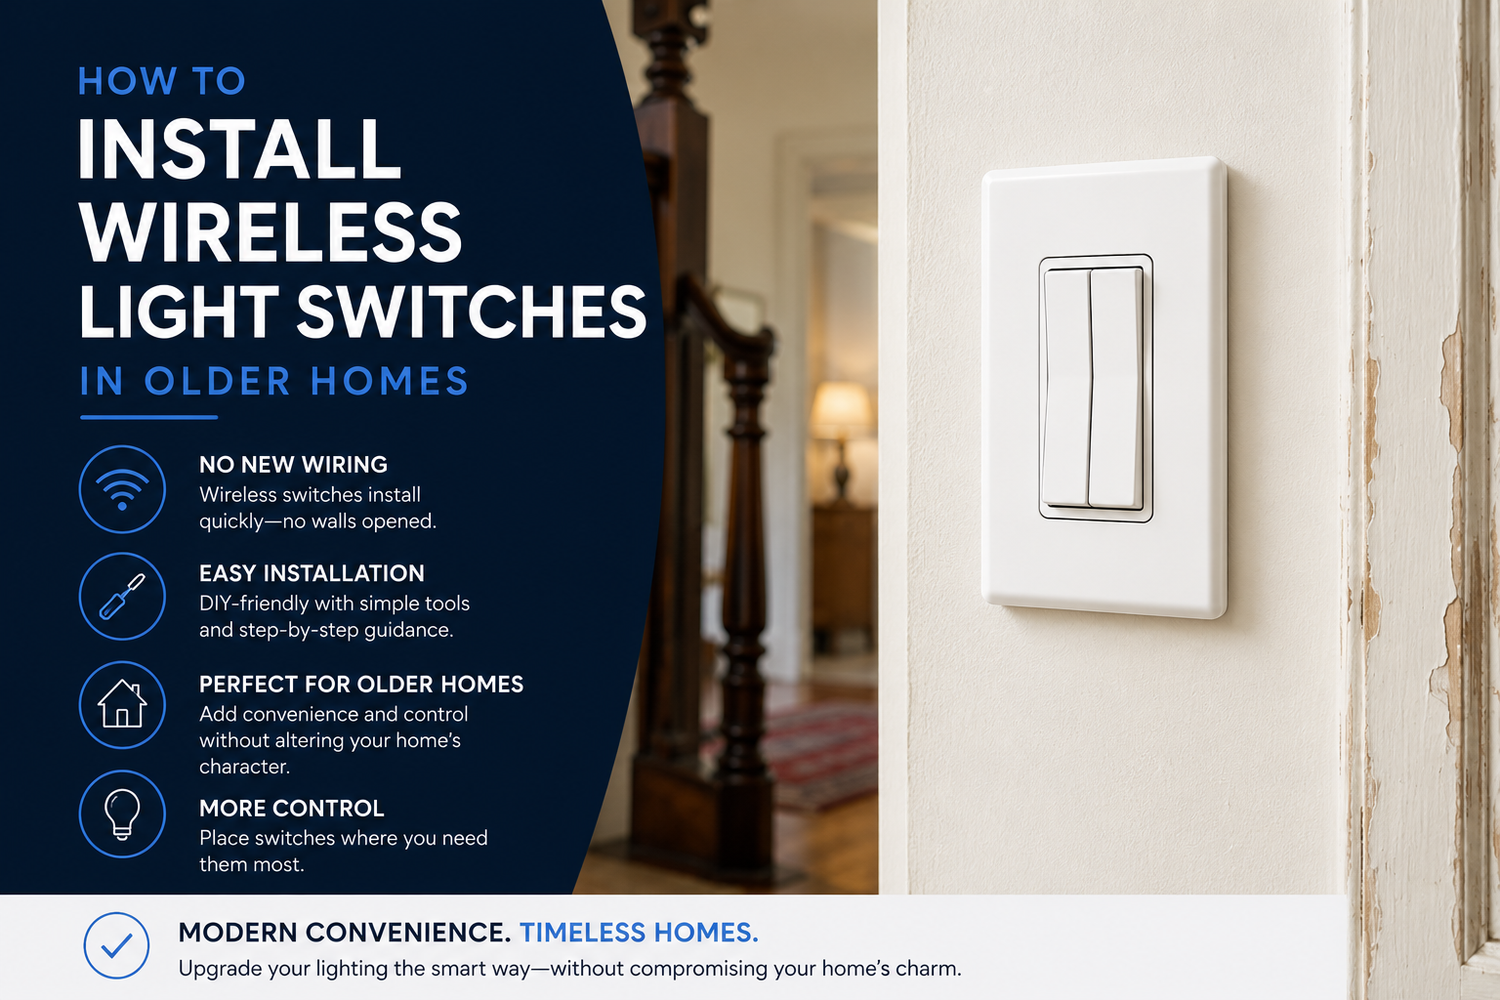
How to Install Wireless Light Switches in Older Homes
A practical, no-rewiring approach for homes built before modern conveniences.
By RunLessWire | May 2026
Older homes have character, craftsmanship, and details you can’t find in new construction. They also have quirks — light switches at the bottom of the stairs instead of the top, pull chain lamps, hallways with only one switch, and bedrooms with no overhead lighting at all. Many were wired before code required convenient switch placement.
The good news? You don’t have to tear into plaster, fish wires through old walls, or hire an electrician to fix it. Wireless switches let you add or move a switch anywhere — in a single afternoon. Here’s how to plan, install, and link them, step by step.
1. Understand What You’re Working With
Older homes have wiring quirks rooted in their era — fewer switch boxes, weird switch locations, and plaster walls that make fishing new wires a serious project. A wireless system sidesteps almost all of it. The kinetic switch needs no wiring at all, and the controller installs at an existing switch or fixture box, using the wiring that’s already there.
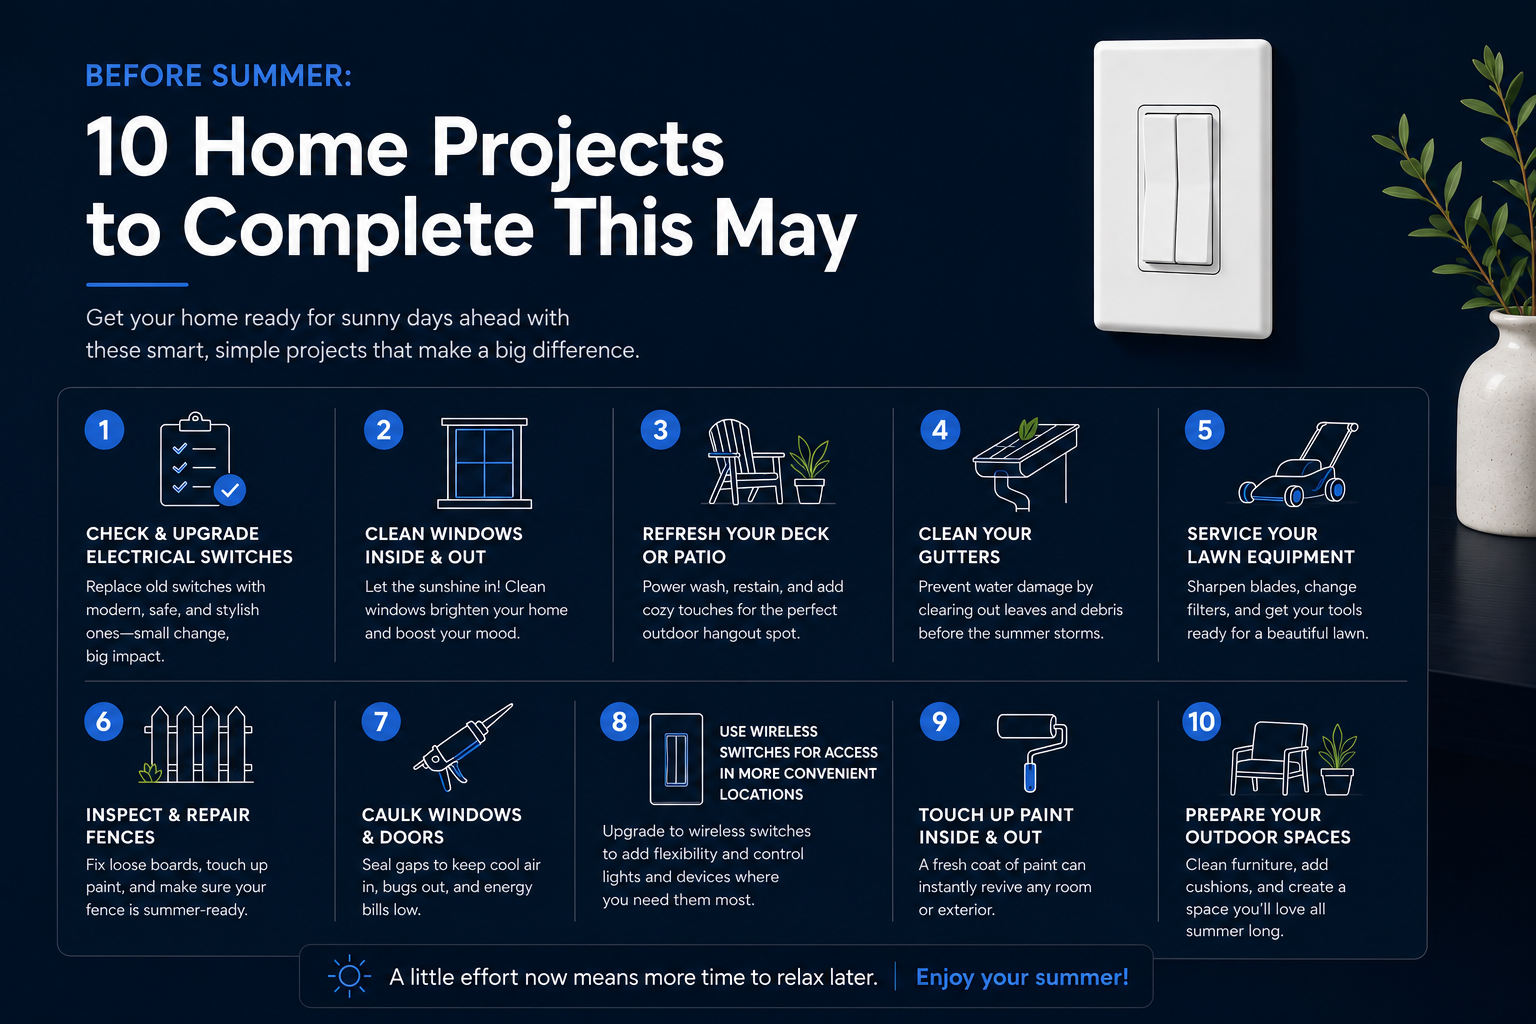
2. Decide Where You Actually Want Switches
Before you order anything, walk through your home with a notebook. Note every spot where you reach for a switch that doesn’t exist — the top of the basement stairs, the doorway of a lamp-only bedroom, the second entrance to a long hallway. Listing them first lets you pick the right kits the first time, instead of guessing.
3. Choose the Right Kit for the Job
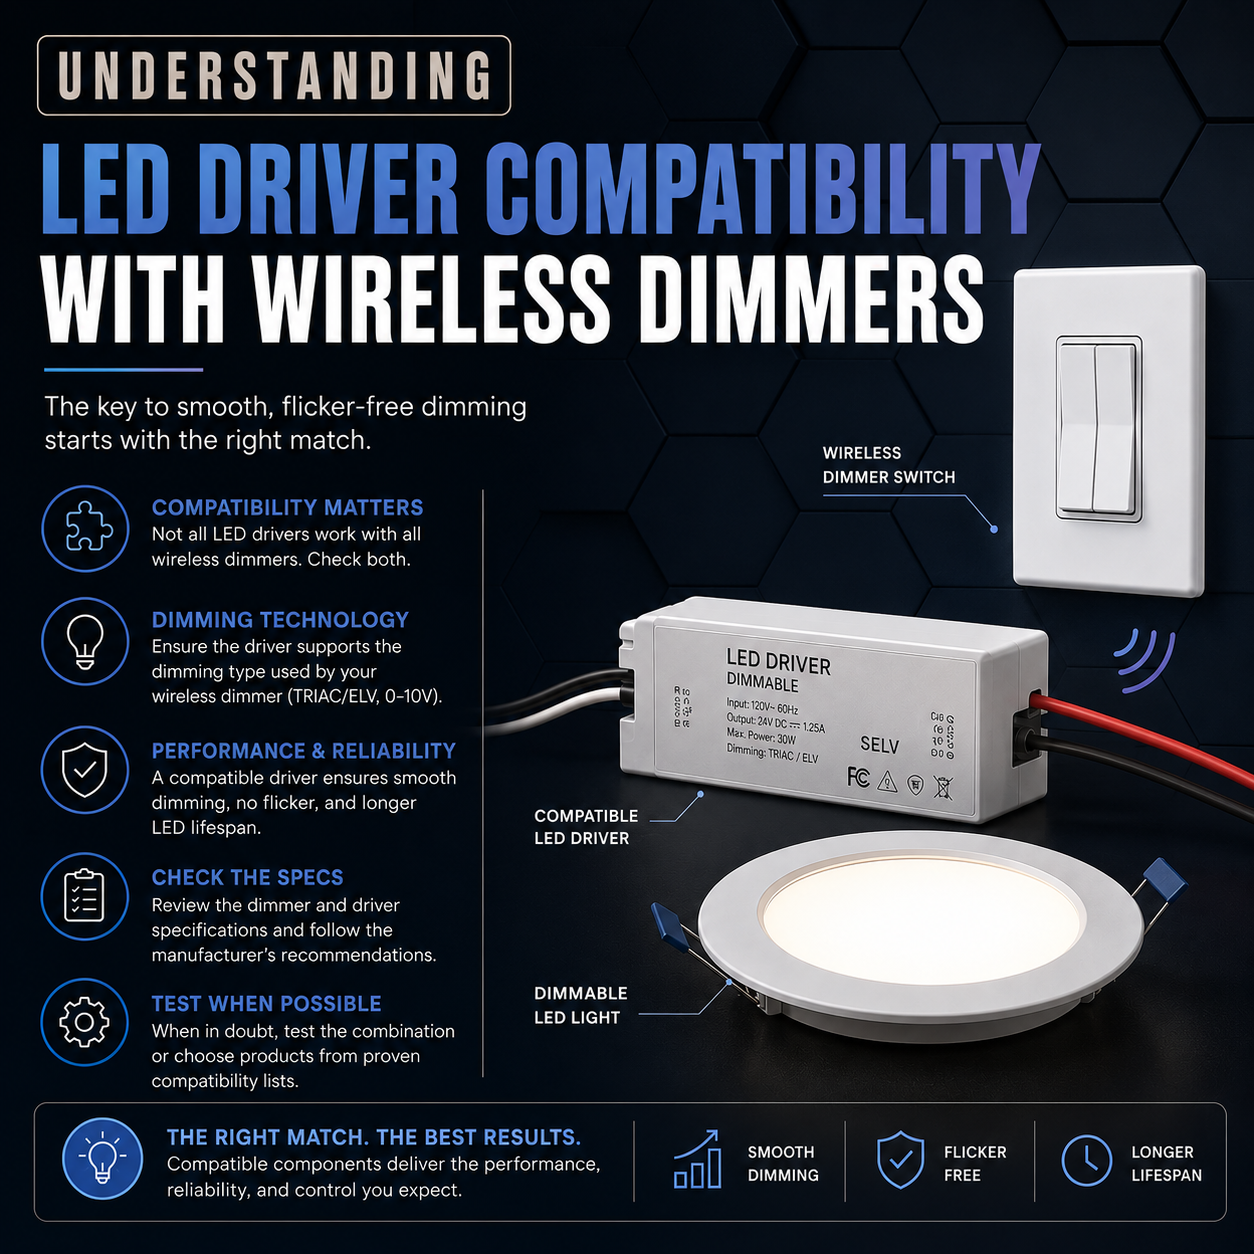
For most rooms, a single-switch Wireless Switch Kit handles the job — one switch, one controller. For a hallway or staircase that needs control from two locations, the 3-way kit adds a second switch with no wiring between them. For heavier loads like a ceiling fan, choose the 20A controller; for typical lighting, the 5A handles up to 600W.
4. Install the Controller
This is the only step that involves wiring — and it’s the same as installing a standard switch. Turn off the breaker, remove the existing switch, and connect the controller’s line, load, and neutral wires to the matching wires in the box. A neutral wire is required for code-compliant installation. If your box doesn’t have one, call an electrician for that connection — the rest is still DIY.
5. Mount the Switch — Anywhere
This is where it gets fun. The wireless switch is self-powered — it generates electricity from the press itself, using patented kinetic energy technology. That means no batteries, no wiring, and no holes to drill. Stick it to the wall with Command Strips, mount it to a backplate, or screw it into a junction box. It looks like a normal decora switch — and goes wherever you want it.
6. Confirm the Link
Every kit ships pre-linked, so most of the time the switch just works the moment the controller is powered. Flip the breaker back on, press the top of the switch, and the light comes on. If you ever need to re-link, hold the controller button for five seconds until it clicks, then click the top of the switch three times, as easy as that!
7. Common Older-Home Scenarios
A wireless switch shines in the spots an older home keeps reminding you about. Add a switch at the top of the basement stairs. Control a bedroom lamp from the doorway when there’s no overhead light. Add a second switch to a long hallway that only has one. Each would be a wall-opening project with traditional wiring — with wireless, it’s only a few minutes.
Modernize Without Tearing Up the Walls
Older homes have so much going for them — character, craftsmanship, and details that aren’t built anymore. They shouldn’t have to sacrifice modern convenience just because the wiring is from another era. With a wireless switch, you can fix a frustrating layout in just a few moments — with no holes, no batteries, and no new wires. Your home keeps every bit of its charm.
RunLessWire products are engineered and assembled in the USA, backed by a 5-year warranty, and built to last 20+ years. Designed for homes new and old — including the one that’s been waiting for this fix.
No wires. No batteries. No limits.
Ready to fix that switch?
Explore our full product line at runlesswire.com
or find us on Amazon and Home Depot.
Leave a comment
All comments are moderated before being published.
This site is protected by hCaptcha and the hCaptcha Privacy Policy and Terms of Service apply.