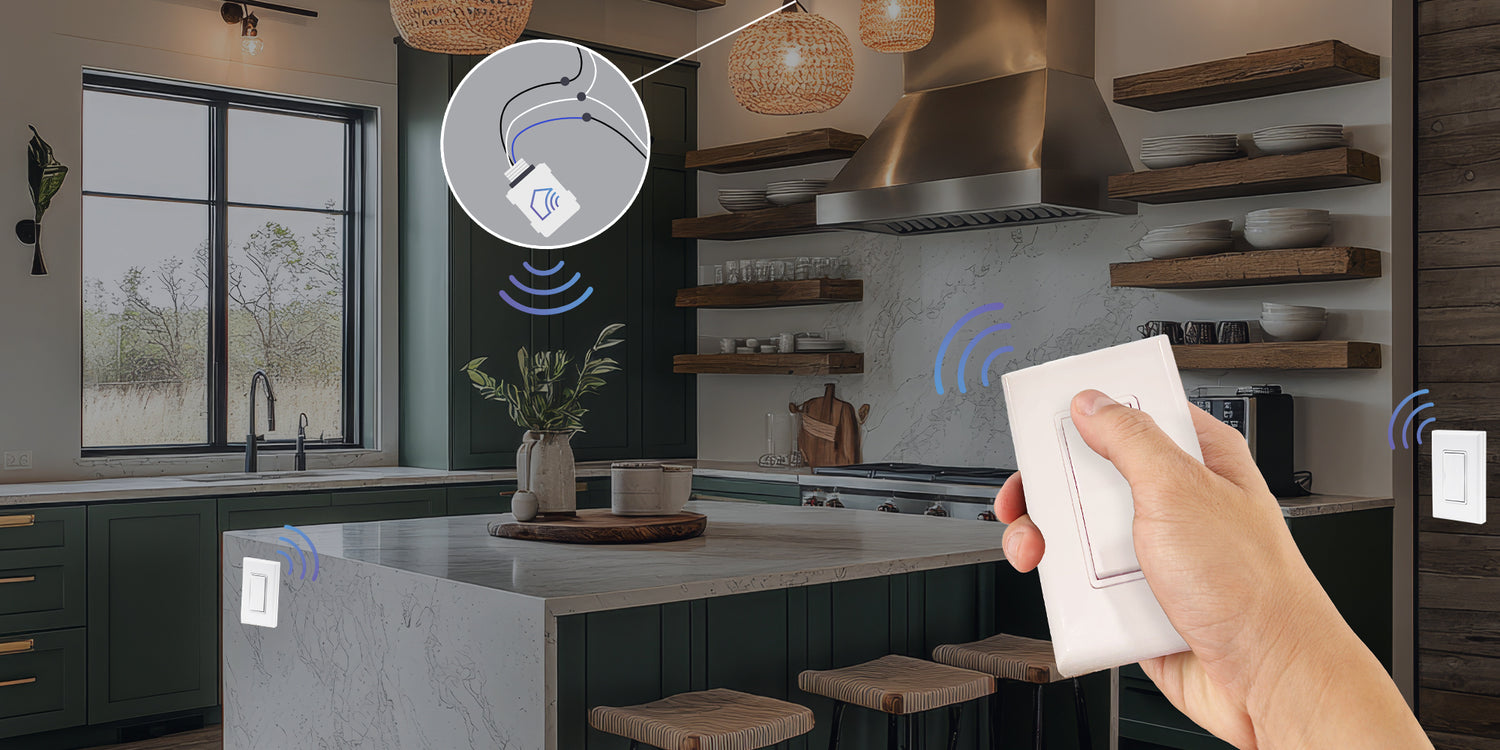
Setting up your 4-way switch is straightforward with RunLessWire’s wireless switches and receivers. Follow these steps for a quick, hassle-free installation.
1. Gather Your Materials
To complete this setup, you’ll need:
- RunLessWire's 4-Way Switch Kit: Comes pre-linked with 3 switches and 1 receiver
- Add-Ons: If you want more than 3 switches, you can 'create your own kit', you'll need at least 1 receiver to control the circuit.
Make sure to have the right tools on hand, such as a screwdriver and voltage tester.
2. Plan Your Switch and Receiver Placement
Determine the placement of your switches for maximum convenience. For example:
- Place switches near doorways, staircases, or at the beginning and end of long hallways, or you can use as a remote.
- Decide where the receiver will be installed, which should ideally be near or directly at the light fixture.
This planning ensures the wireless switches are well-placed for optimal ease of use.
3. Install the Receiver
The receiver can be installed in a location that has 3 things:
1. Access to power coming from the breaker
2. Access to the switched Hot to power the fixture
3. A neutral wire
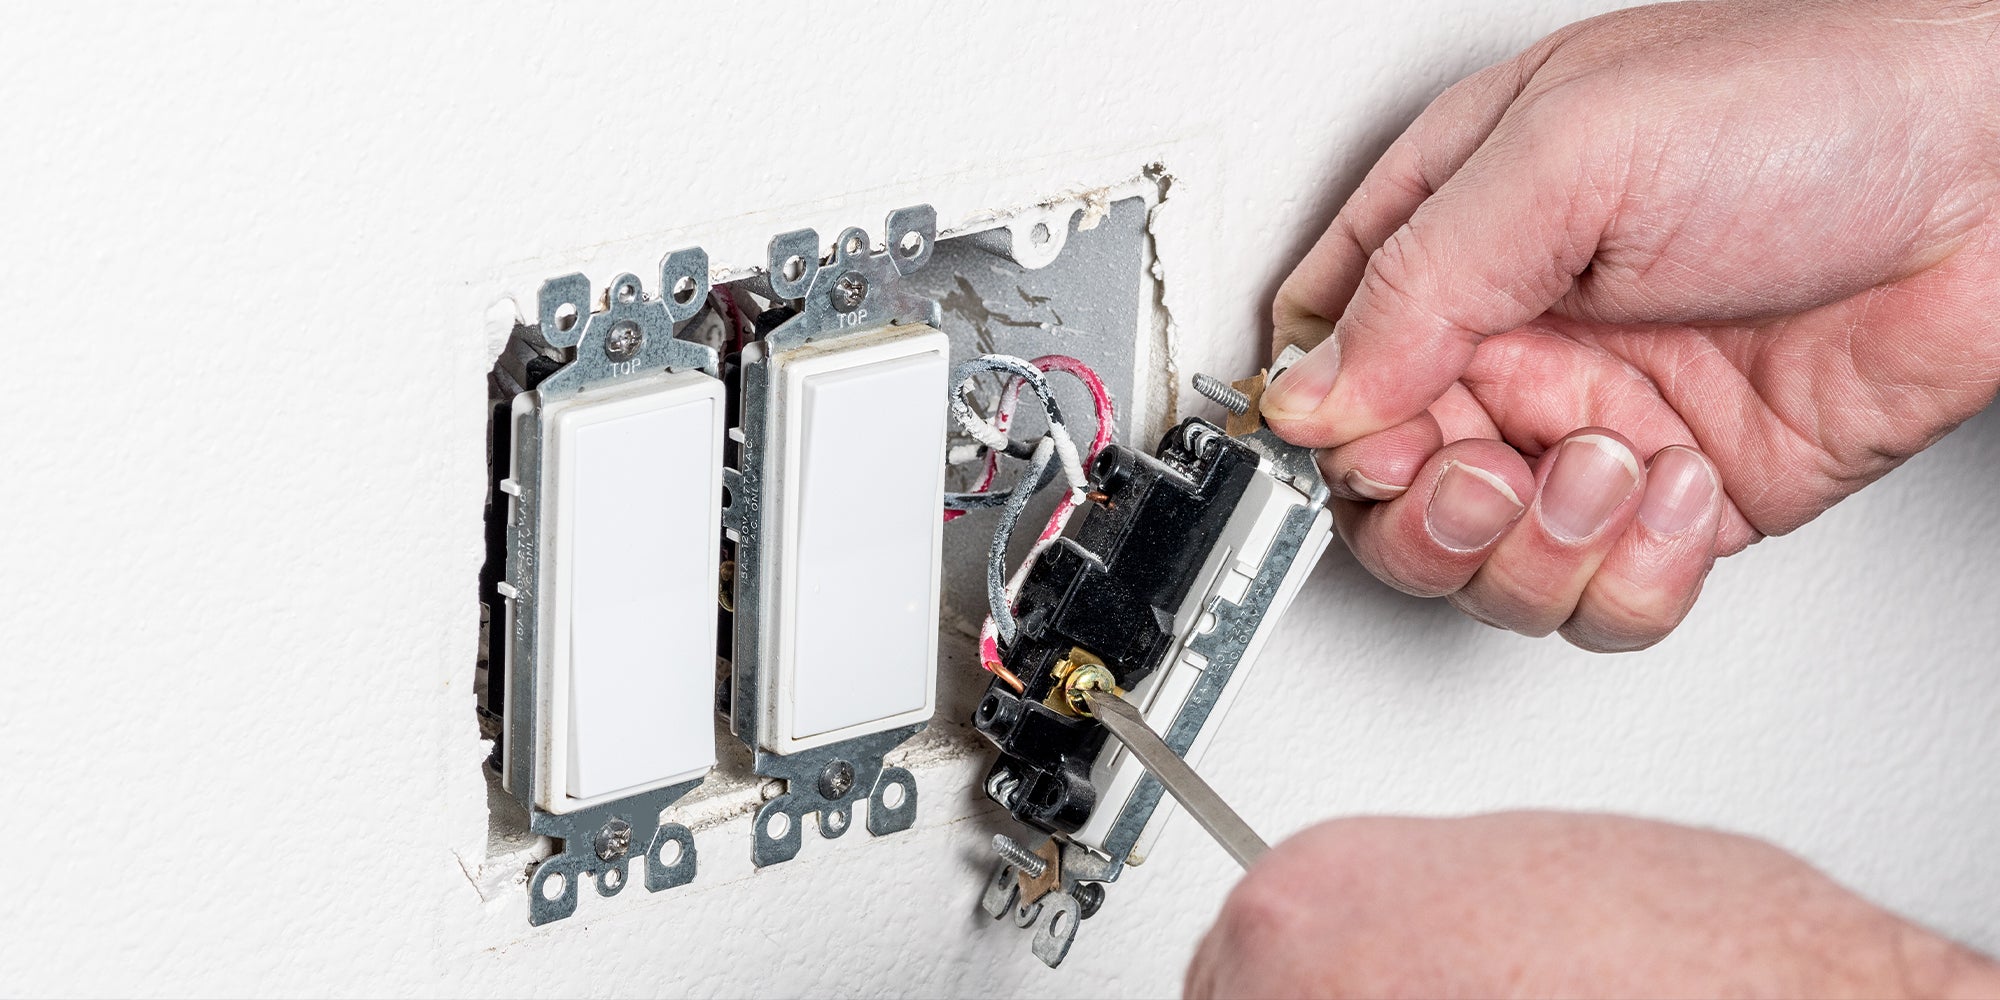
These requirements will be at the fixture if the wired switches are removed and the switch leg wires are connected together to provide always ON power to the receiver (do this by combining all wires from each original switch together with a wire nut). One or more of the switch locations may also meet the requirements depending on how the house is wired. Removing the existing switches is the first step to finding a suitable spot.
- Safety First: Turn off the power at your circuit breaker before handling any wiring.
- Connect the Receiver: Wire the RunLessWire receiver to the light fixture or switch location, as shown below.
INSTALL AT FIXTURE:

INSTALL AT SWITCH:

Once connected, restore power and test the receiver to confirm it’s working with the light fixture.
4. Pair the Wireless Switches
ALL KITS COME PRE-LINKED, ONLY DO THIS TO ADD OR REMOVE SWITCHES OR CONTROLLERS
1. Press button on receiver for 3 seconds until the receiver begins to toggle on/off.
2. Press the TOP of the switch 3 times quickly to link the switch to the receiver, or the BOTTOM of the switch 3 times to unlink.
3. The LED and output will pause ON for 3 seconds if linked, or OFF for 3 seconds if unlinked.
4. Wait for the linking mode to time out (30 seconds), or power cycle the receiver.
5. Test switch to ensure it's linked properly.
5. Mount the Wireless Switches
- Adhesive or Screw Mounting: Attach the wireless switches to the wall using either adhesive backing or screws, based on your preference.
- Wireless switches can be mounted on any surface, allowing you to install them in convenient locations without concern for traditional switch box limitations.
Troubleshooting and Common Questions
Q: What if my switches are out of range of the receiver?
A: RunLessWire products are designed with a wireless signal of at least 150ft. However, if you’re experiencing connectivity issues, consider placing the receiver closer to the switches or removing any metal obstructions between them.
Q: Can I add more switches later?
A: Absolutely! One of the major benefits of RunLessWire's wireless technology is scalability. Simply pair an additional switch with your existing receiver.
Q: What happens if the power goes out?
A: Once the power is restored, your RunLessWire system will typically reconnect automatically. If necessary, follow the pairing instructions to re-establish the connection.
Benefits for Every Type of User
- Homeowners: Set up a 4-way switch system without drilling holes, tearing into walls, or reworking your home’s wiring.
- Electricians: Spend less time on installations and offer clients a modern solution with greater flexibility.
- Renters: Install wireless switches without worrying about permanent changes, making it easy to uninstall and move to a new home.
Conclusion
Creating a 4-way switch setup has never been easier. With RunLessWire’s wireless technology, you can bypass traditional wiring challenges and enjoy the freedom of placing switches wherever you need them most. Whether you’re lighting up a hallway, a staircase, or a large room, RunLessWire products offer a quick, clean, and efficient way to take control of your home lighting.


Leave a comment
All comments are moderated before being published.
This site is protected by hCaptcha and the hCaptcha Privacy Policy and Terms of Service apply.