
Looking to create a 3-way lighting setup in your home? Whether you're wanting to add a switch to a current single pole setup, or replace a pull-chain system, save money and time by doing it yourself. Just follow these simple instructions for the easiest light switch installation ever!
Upgrading your home lighting system can seem overwhelming, especially if you’re trying to create a 3-way setup (2 switches controlling the same circuit). Fortunately, with RunLessWire’s 3-way switch kit, this task becomes incredibly easy and hassle-free. Let’s explore how straightforward the installation process is and why it’s a smart choice for any homeowner.
Why Choose a RunLessWire 3-Way Switch Kit?
Traditional 3-way switch setups require running new wires through walls, which can be labor-intensive, time-consuming, and expensive. RunLessWire’s 3-way switch kit offers a wireless and battery-free solution, eliminating the need for complex wiring and making the installation process much simpler.
Benefits of RunLessWire 3-Way Switch Kit
- Wireless Convenience: The wireless switches communicate with the receiver, making it unnecessary to run additional wiring.
- Easy Installation: Designed for DIY enthusiasts, the kit comes with detailed instructions and all necessary components.
- Cost-Effective: Save money on electrician fees and expensive wiring.
- Versatile Placement: Place the switches wherever you find most convenient without worrying about existing wiring paths.
- Eco-Friendly: Lower your carbon footprint with these energy-efficient switches, and never stress over having to change out the battery!
Step-by-Step Installation Guide
1. Gather Your Tools and Kit Components
Before starting, ensure you have the RunLessWire 3-way switch kit, a screwdriver, and possibly a voltage tester for safety.
2. Turn Off Power
Safety first! Turn off the power to the existing light switch at your circuit breaker. Use a voltage tester to confirm that the power is off.
3. Remove the Existing Switch OR Open up Fixture
You can choose to install the receiver either at the switch location or the fixture location. The receiver requires a neutral wire, so if it is not available at the switch location, it should be at the fixture location.
If installing at the fixture location, just remove the screws from the fixture to expose the wires.
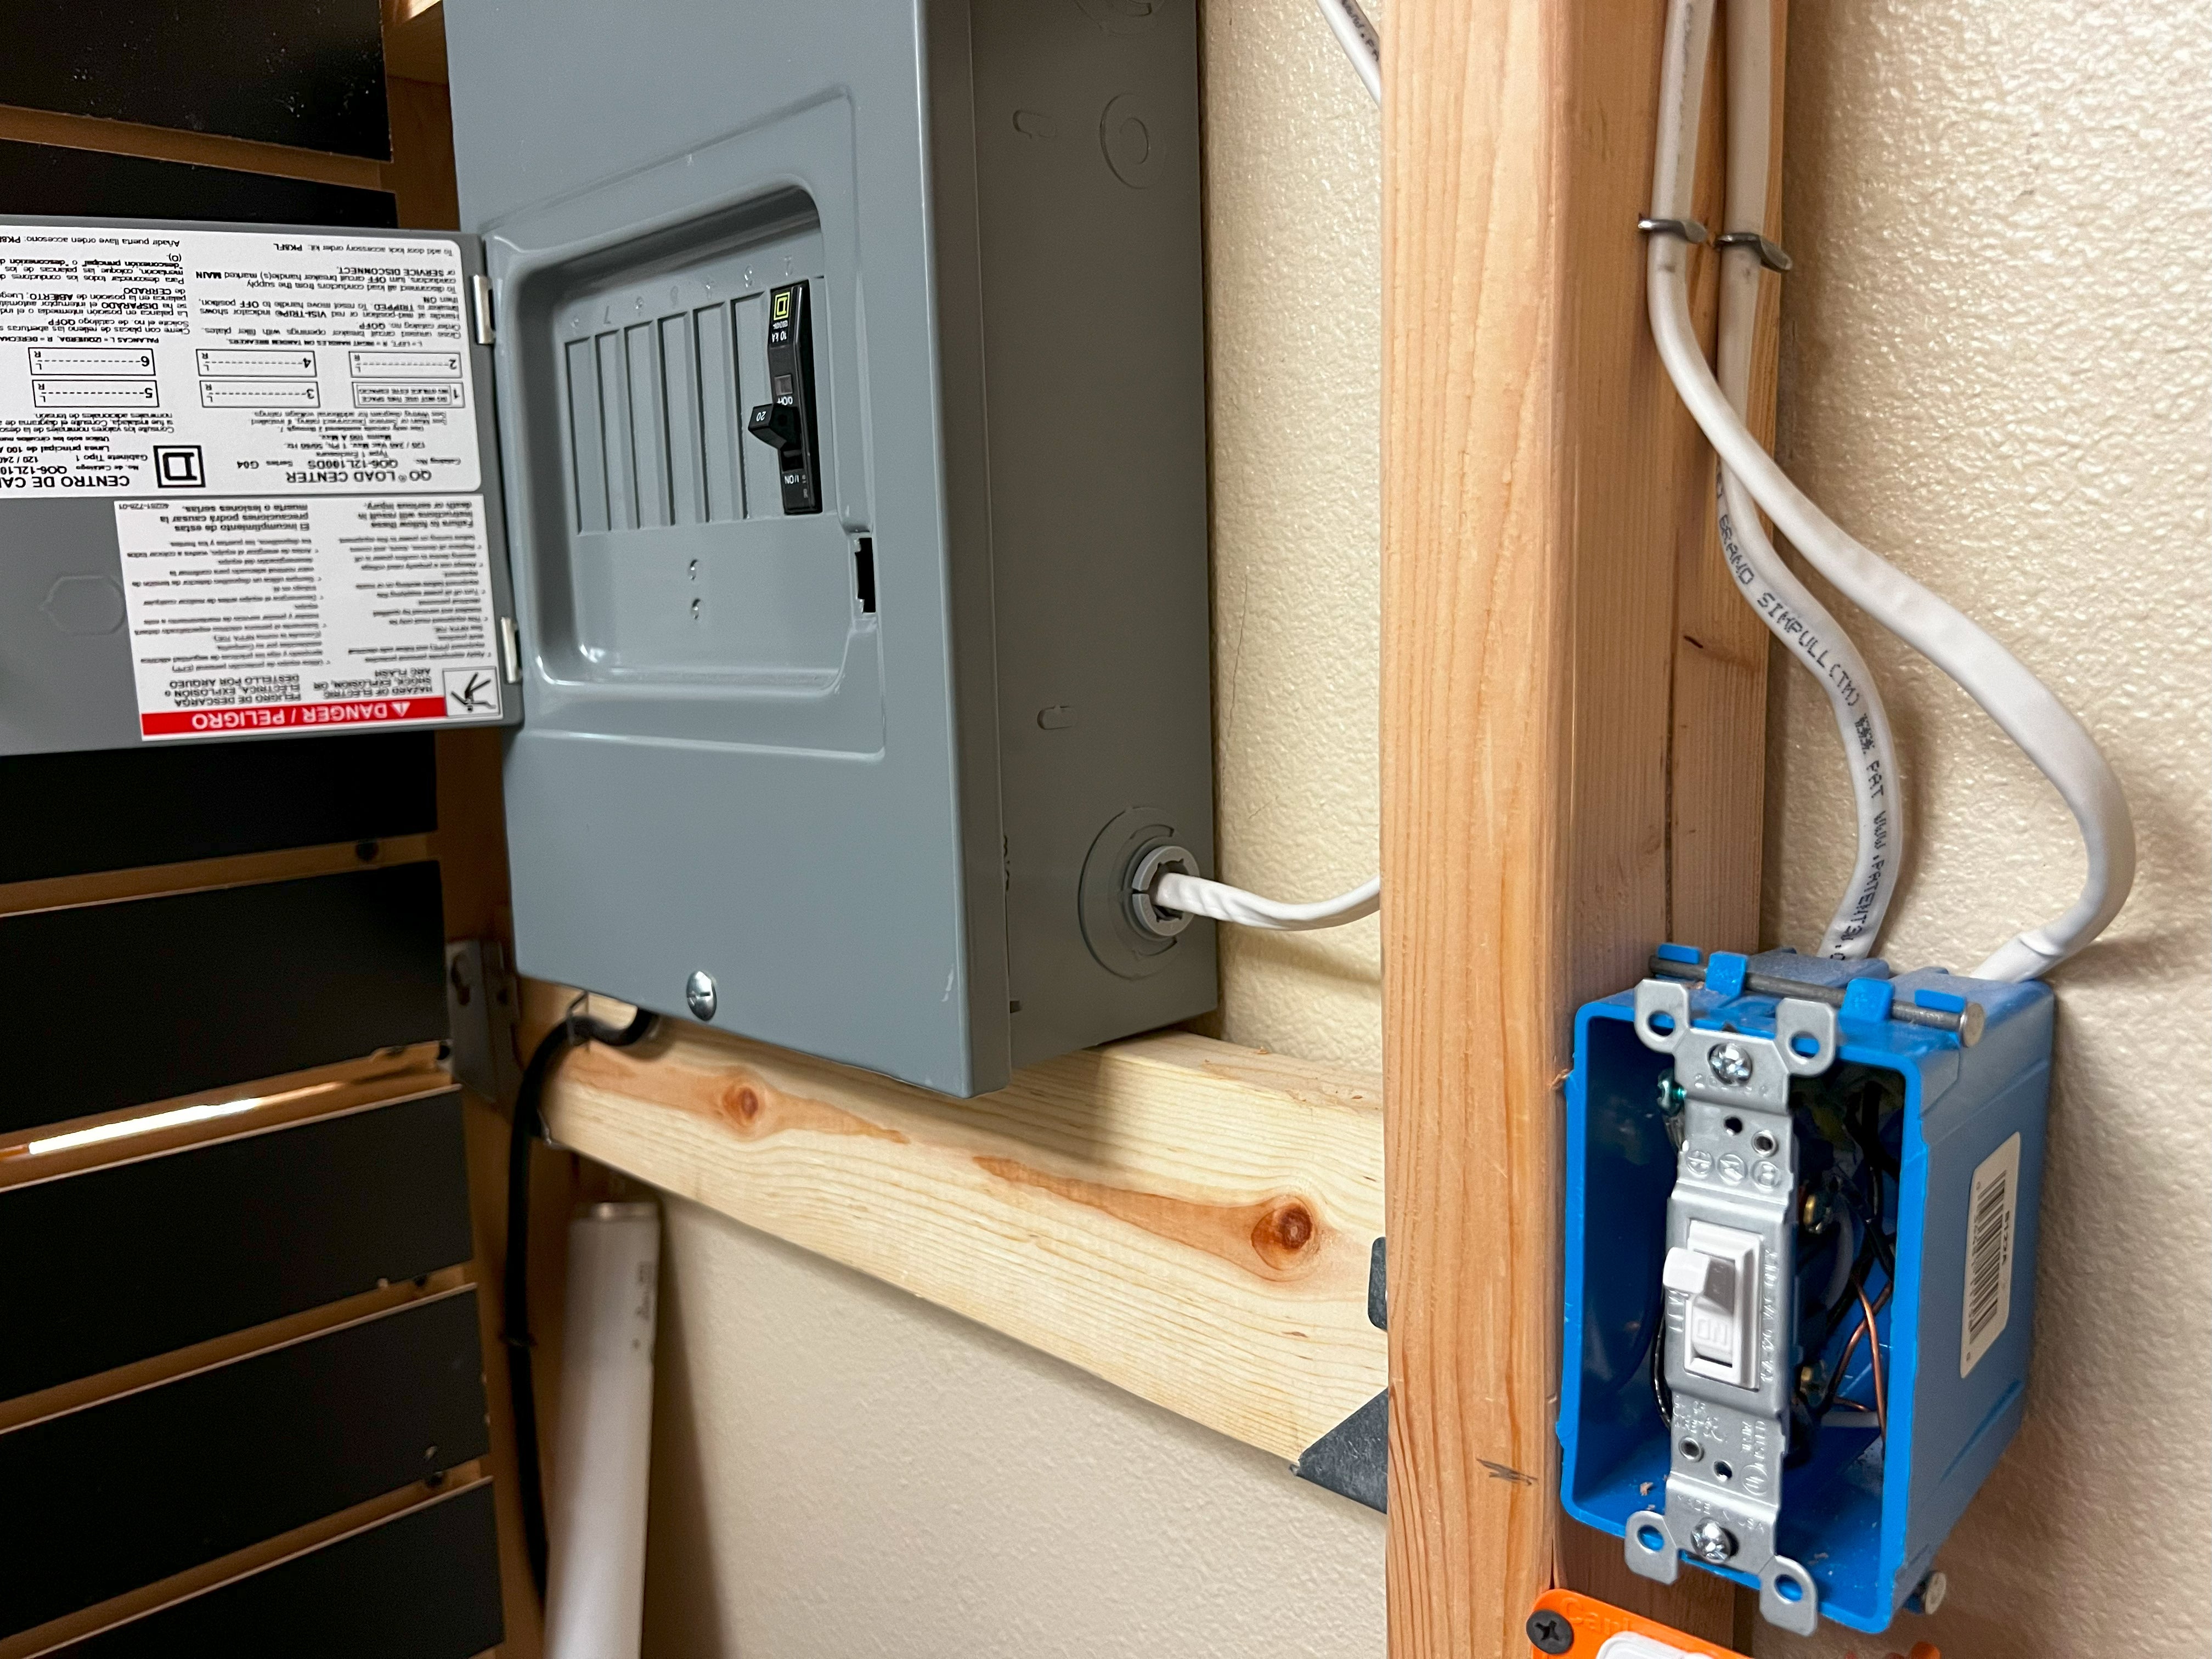
If installing at the switch location, remove the faceplate and the screws holding the existing switch in place. Carefully pull the switch out of the electrical box, making sure not to touch any wires.
4. Install the Receiver
The receiver is the heart of the RunLessWire system. Connect the receiver to the existing switch wiring. The receiver has clear labels indicating where each wire should be connected:
- Connect the hot wire (usually black) to the BLACK wire on the receiver.
- Connect the load wire (also black) to the BLUE wire on the receiver.
- Connect the neutral wire (white) to the WHITE wire on the receiver.
- If there’s a ground wire (green or bare), just cover it with a wire nut.
FIXTURE LOCATION:
SWITCH LOCATION:

5. Secure the Receiver
Carefully tuck the wires and the receiver into the electrical box. Replace the fixture, or if installed at the switch location, either cover with a blank faceplate or install one of the wireless switches there.
6. Install the Wireless Switches
The wireless switches come with adhesive backing for mounting on a flat surface, or screw mounts to mount at the original switch location without the backplate.

OR

7. Test Your Setup
Turn the power back on at the circuit breaker. Test the wireless switches to ensure they control the light as expected.
Enjoy Your Upgraded Lighting System
With the RunLessWire 3-way switch kit, you’ve successfully upgraded your lighting system with minimal effort and without the need for professional assistance. You can now enjoy the convenience of controlling your lights from multiple locations, enhancing both the functionality and aesthetic of your home.
Conclusion
RunLessWire’s 3-way switch kit offers a straightforward and cost-effective solution for upgrading your home’s lighting system. By eliminating the need for complex wiring, it allows you to easily add additional switches to an existing setup. Whether you’re a seasoned DIY enthusiast or a complete novice, this kit makes it possible for anyone to enhance their home lighting with ease.
Troubleshooting
Check out RunLessWire's troubleshooting page for more install instructions and troubleshooting.
Leave a comment
All comments are moderated before being published.
This site is protected by hCaptcha and the hCaptcha Privacy Policy and Terms of Service apply.