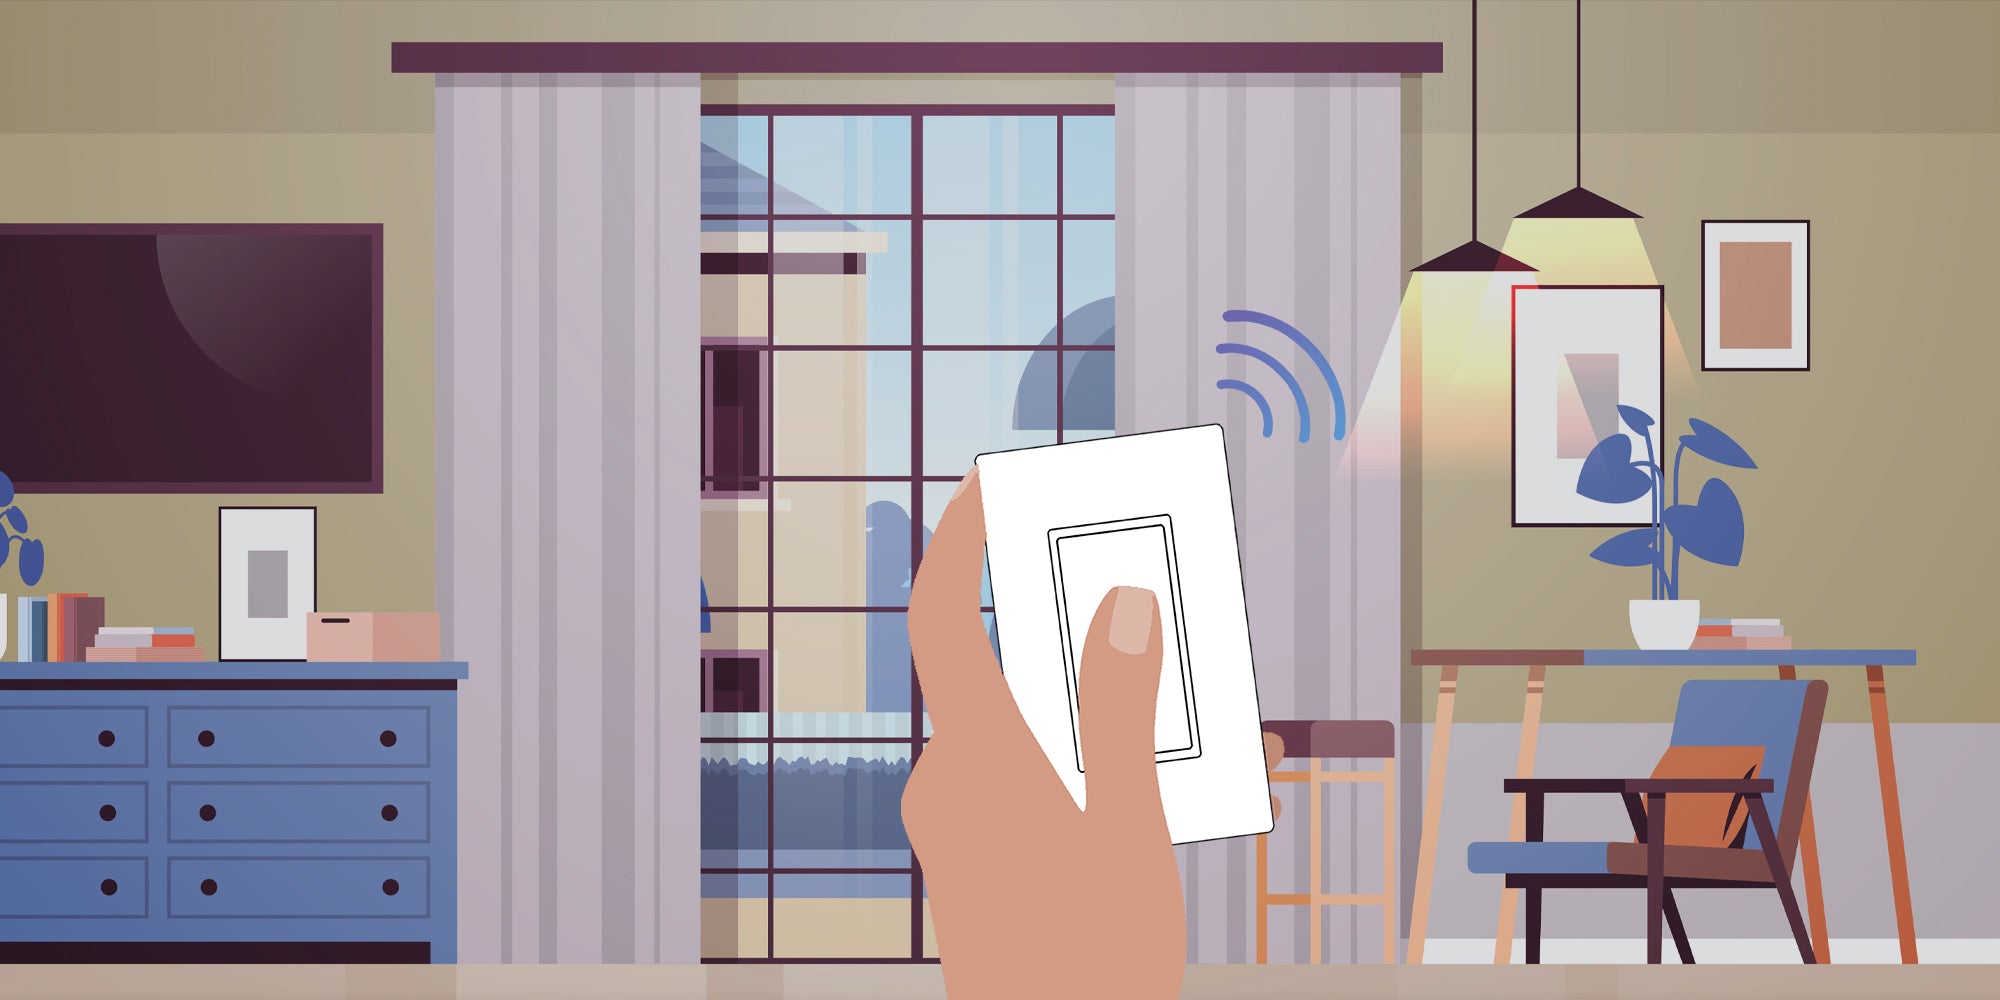
Garbage disposals are a kitchen necessity, but the traditional switch setup can sometimes be inconvenient or unsightly. With RunLessWire’s wireless & battery free light switches, you can easily control your garbage disposal from any location in your kitchen without needing to run additional wires or alter your walls. In this guide, we’ll walk you through the steps to wire a receiver to your garbage disposal, making it operable via a wireless light switch.
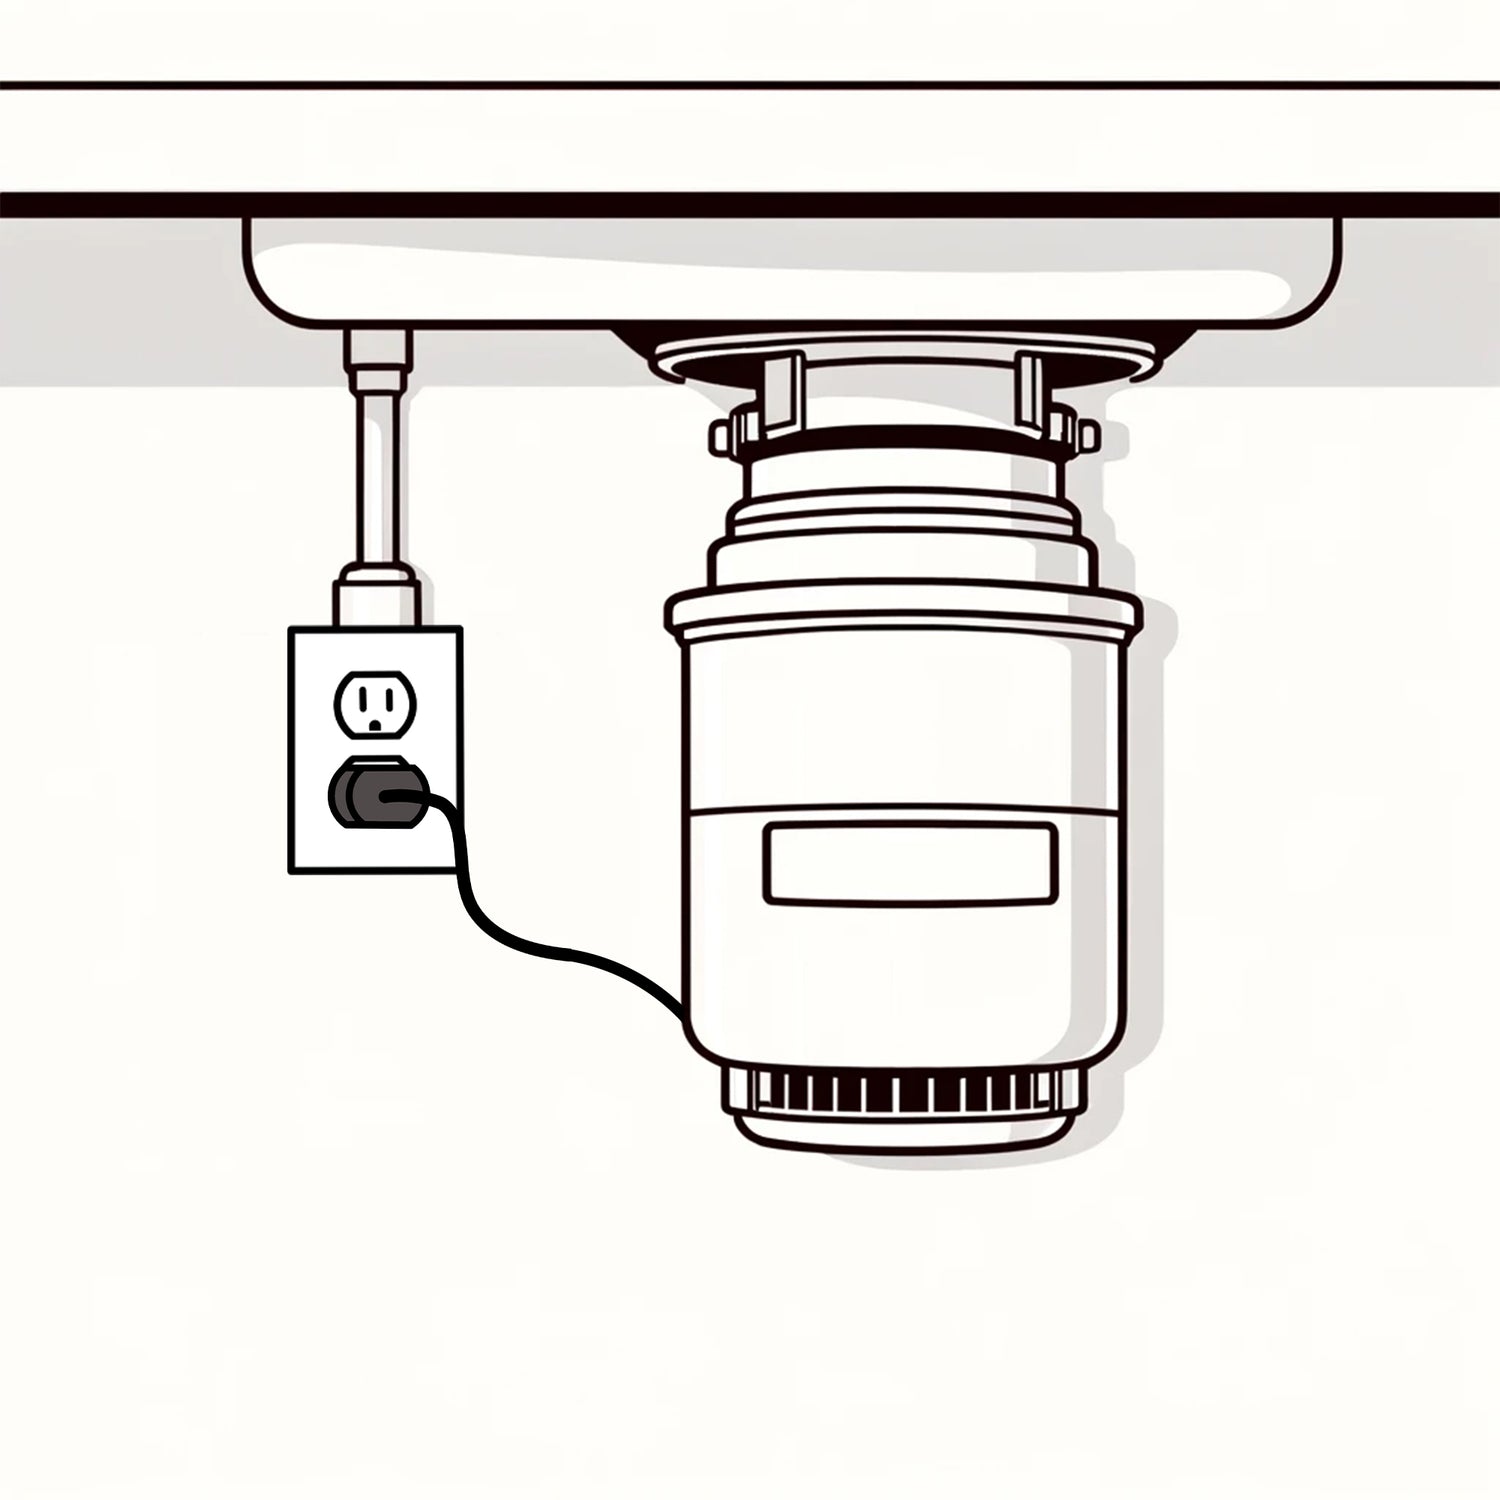
The EASIEST way to do this, is the purchase our OUTLET RECEIVER KIT and simply plug the disposal into the outlet receiver, and plug that into the outlet.
However, if you wish to control the actual outlet, here are the instructions:
What You’ll Need:
- RunLessWire Basic Switch Kit
- Screwdriver
- Wire Strippers
- Voltage Tester
- Garbage Disposal Unit
Step 1: Turn Off Power at the Circuit Breaker
Safety first! Before beginning any electrical work, ensure the power to your garbage disposal is turned off at the circuit breaker. Use a voltage tester to confirm that no electricity is flowing to the disposal.
Step 2: Access the Wiring for the Outlet Under the Sink
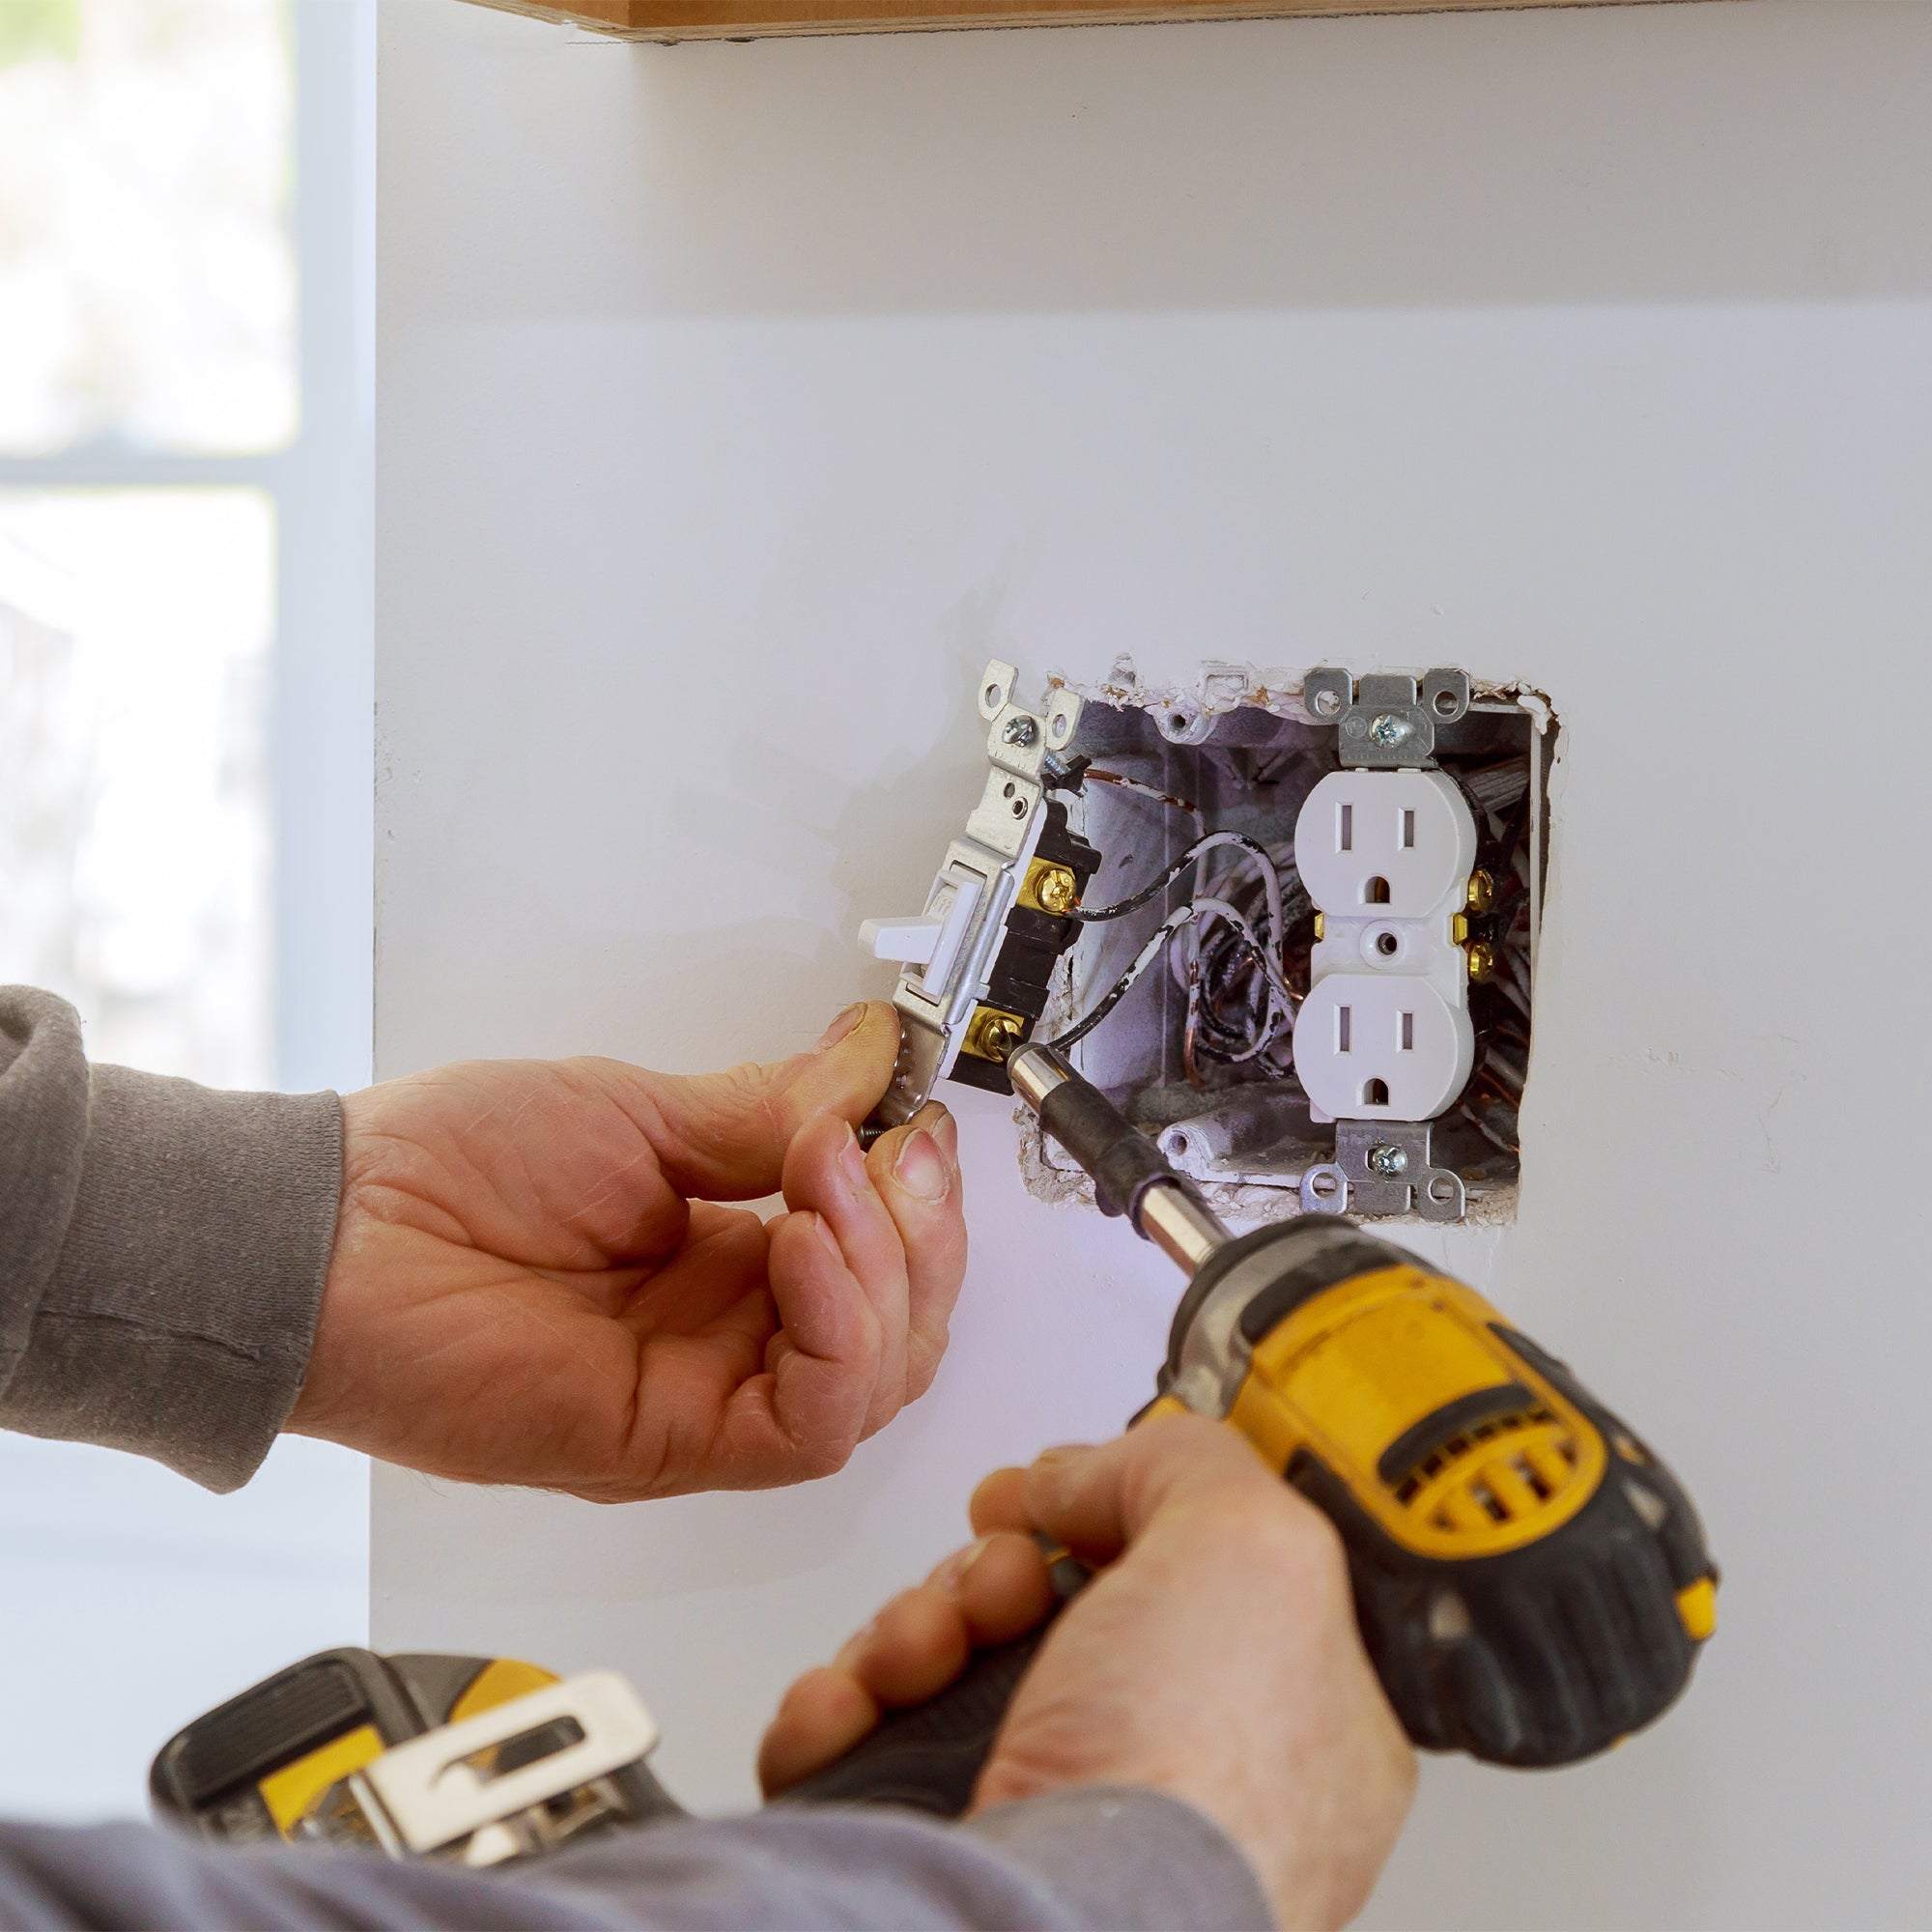
Locate the outlet under your sink where your garbage disposal will be plugged into. Open the cover using a screwdriver to access the wires. You should see three main wires connected to the outlet: Power of Live (Black), Neutral (White), and Ground (Green/Bare Copper).

Step 3: Wire the RunLessWire Receiver
Take the RunLessWire receiver and connect it to the outlet’s wiring:
- Connect the Black Wire on the receiver along with the Power/Live Wire (Black) on the outlet.
- Connect the White Wire on the receiver along with the Neutral Wire (White) on the outlet.
- Connect the Blue Wire on the receiver to the Other Side (Top or Bottom) on the outlet.
- Leave the Ground wire (Green/Bare Copper) from the outlet as is.
- PLEASE NOTE: You will want to cut the tab on the side that the power is wired, to sever the connection between the top and bottom outlets. This will make the bottom outlet always on, and the top outlet controlled by the receiver/switch.

Step 4: Secure the Receiver
Carefully tuck the receiver into the outlet junction box, and screw the outlet back into place.
Step 5: Make Sure the Switch is Linked
Step 6: Test the Setup
Once paired, test your setup by pressing the wireless switch to ensure it activates the garbage disposal. If everything is working correctly, the disposal should turn on and off with the wireless switch.
Step 7: Mount the Switch & Clean Up
After confirming that everything works, you can use the command strips to mount your switch on any flat surface, just make sure it's not anywhere that can get wet. Then clean up any tools or debris from the installation.
Conclusion
Congratulations! You’ve successfully wired a RunLessWire receiver to your garbage disposal, enabling you to control it with a wireless light switch. This setup not only offers convenience but also allows you to position the switch in a location that’s most efficient for you. Enjoy the enhanced functionality and streamlined look of your kitchen!


Leave a comment
All comments are moderated before being published.
This site is protected by hCaptcha and the hCaptcha Privacy Policy and Terms of Service apply.