

INSTALL GUIDE
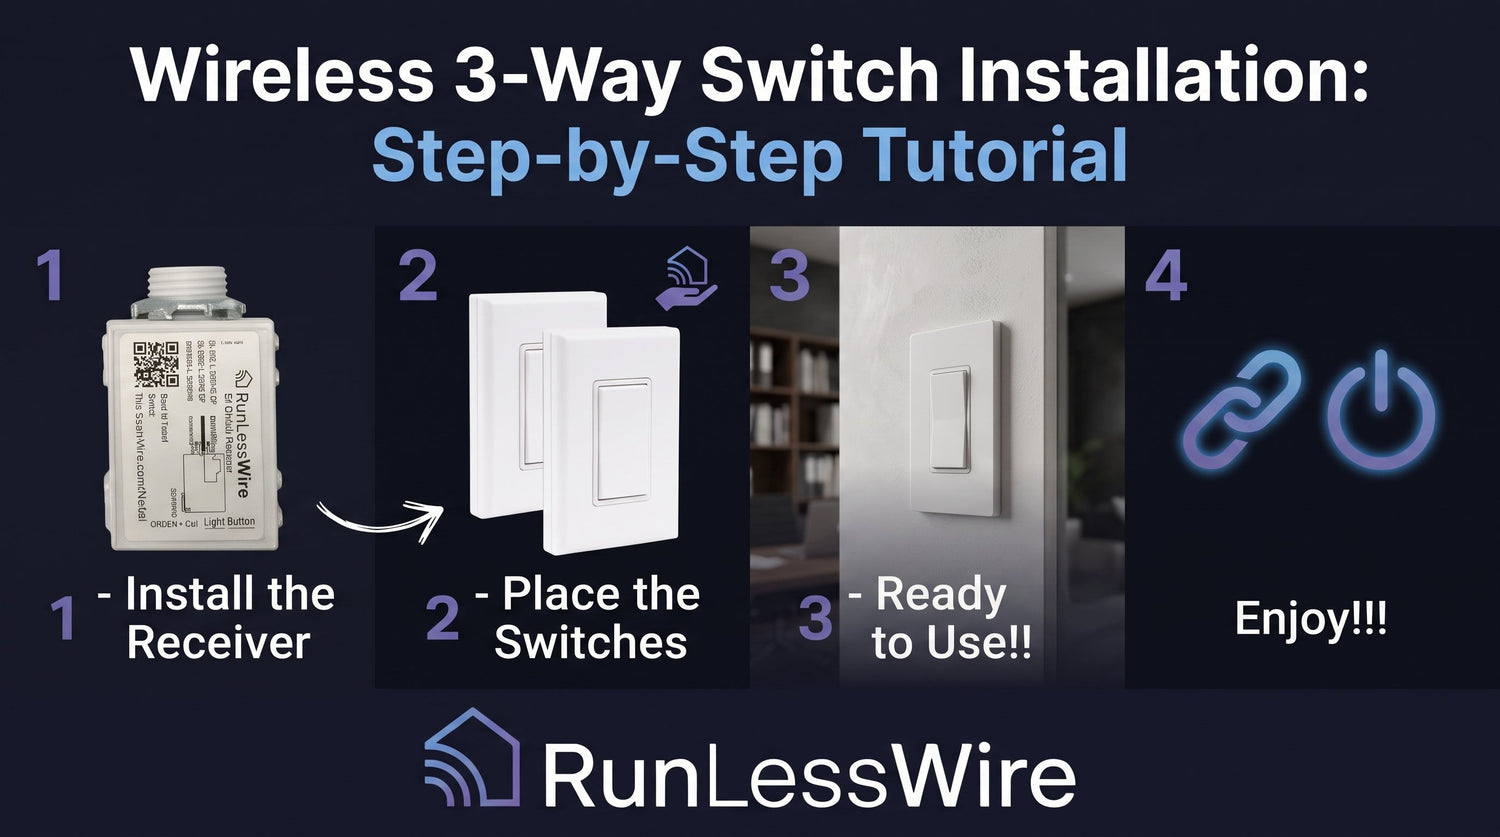
Wireless 3-Way Switch Installation: Step-by-Step Tutorial
How to add a second switch to any circuit — no travelers, no drywall, no electrician.
By RunLessWire | August 2026
A traditional 3-way switch — where two switches control the same light from different locations — is one of the most annoying wiring projects in a home. It requires a traveler wire between the two switch boxes, which usually means opening drywall, fishing cable, and taping and painting when you’re done. A wireless 3-way skips all of it. Here’s the full install, step by step.
1. Why Wireless 3-Way Is Faster
Instead of running a wire between two switches, a wireless 3-way uses one receiver behind the wall and two switches that both send signals to it. The receiver handles the load; the switches just say “toggle.” Because each switch is battery-free and self-powered, you can mount the second one anywhere — the top of a staircase, the far end of a hallway, next to your bed — without touching the wiring at all. The install takes about 15 minutes.
2. Plan Your Two Switch Locations
Before you touch a wire, walk the room and pick the two spots where you actually want switches. One goes in the existing switch box (where the receiver installs); the other can be anywhere the wireless signal reaches — typically 50 to 150 feet. Common combinations: top and bottom of a staircase, both ends of a long hallway, doorway and bedside, or garage entrance and back porch. Mark both spots before starting.
3. Install the Receiver
Turn off the breaker for the circuit and verify with a non-contact voltage tester before removing the existing switch. Disconnect the old switch and install the receiver in the same box: connect line, load, and neutral wires per the kit’s wiring diagram. A neutral wire is required for code-compliant installation — most boxes newer than the 1980s have one. Screw the receiver into place and restore the breaker. The receiver’s status LED should show green, meaning it’s powered and listening.
4. Mount and Test the First Switch
The kit ships pre-linked, so both switches should work as soon as the receiver has power. Take one switch and press the top rocker. The light should come on. If it does, you’re in business. Now pick where to mount that switch — use the included Command Strips for a peel-and-stick install, or screw it to a backplate or junction box cover. Location one is done.
5. Mount the Second Switch
Repeat the test with switch number two. Because both switches are already paired to the same receiver, pressing either one now toggles the same light — the wireless 3-way in action. Mount it wherever you planned: on drywall with Command Strips, in a decora backplate, or in an existing switch box if one happens to be nearby. No wiring between the two switches, ever.
6. What If They Don’t Both Work
If one switch works and the other doesn’t, maybe a pairing issue — rare but possible. Hold the receiver’s link button for five seconds until it starts clicking, then press the top of the unresponsive switch three times. The receiver’s status LED pauses green to confirm the pairing. If neither switch works, check that the receiver has power and confirm the bulb itself is functional.
Beyond 3-Way — Add More Switches Anytime
The same receiver supports up to 25 switches, so a 3-way can grow into a 4-way, 5-way, or a whole-room control setup without any new wiring. Add another switch at the top of the stairs, the master bathroom, the closet — all pointing at the same receiver, all toggling the same load.
Every RunLessWire Wireless Switch Kit is engineered and assembled in the USA, backed by a 5-year warranty, and built to last 20+ years — long enough to keep adding switches as your home changes.
No wires. No batteries. No limits.
Ready to add a switch anywhere?
Explore our full product line at runlesswire.com
or find us on Amazon and Home Depot.


Leave a comment
All comments are moderated before being published.
This site is protected by hCaptcha and the hCaptcha Privacy Policy and Terms of Service apply.